I've Moved!

Friday, July 5, 2013

peanut butter marshmallow-filled muffins.


At my house, there is no shortage of the essential baking ingredients every frequent baker should have. I always have one-kilo bags of flour stocked up in my storeroom, and there would be three types of flour- plain, cake and bread. Occasionally a bag of rice flour would pop up. You can unfailingly find my fridge containing no less than five blocks of butter; right now there are eight. And when the mood strikes, cream cheese. My mum buys sugar by the two-kilo bagfuls. Recently, it seems like peanut butter is becoming a hot commodity in my household too. I opened my fridge yesterday to find no less than three plastic jars of peanut butter, each of a different kind. There's Skippy Super Chunk, Skippy Creamy and Jif Creamy. And get this, all three were opened and half-finished. I mean, which family does this?!

Mine.

P.S. I love Jif's creamy peanut butter.

It wasn't that I felt like I had to use up at least one of the jars of peanut butter to clear some space in the fridge, I just had a massive craving for something peanut-buttery when I saw the jars of peanut butter. And while I thought of what to bake, I swiped a sizeable spoonful of Jif. And while I was standing in front of the fridge, door opened, I saw a half-opened pack of marshmallows. Lightbulb moment. Thus, these muffins were born.

It took a long time for me to decide which recipe to use. I googled peanut butter muffins but the results were quite different from what I wanted. For starters, there were many recipes for peanut butter banana muffins, peanut butter and honey muffins, healthy peanut butter muffins (no interest, thank you), but barely any for a plain peanut butter muffin. Of course, I took into consideration recipes like peanut butter chocolate chip muffins because I could just omit the chocolate chips. But even still, I couldn't find an appealing recipe.


So I decided to search for peanut butter cupcakes instead. And there was a world of difference. There were so many suitable sources I could choose from that I was in a bit of a fix, frankly. In the end, I decided that the recipe I choose had to contain baking soda, for fluffy muffins. It must also have a high ratio of peanut butter to butter, because I wanted these muffins to be the very ambassador of peanut butter. I could decide if I wanted to use a recipe with melted butter or oil, or creamed butter. It was a hard toss-up between this recipe and this recipe, and in the end, I went for the one with the creamed butter, as it is more likely to yield the crunchy muffin tops I love so much.

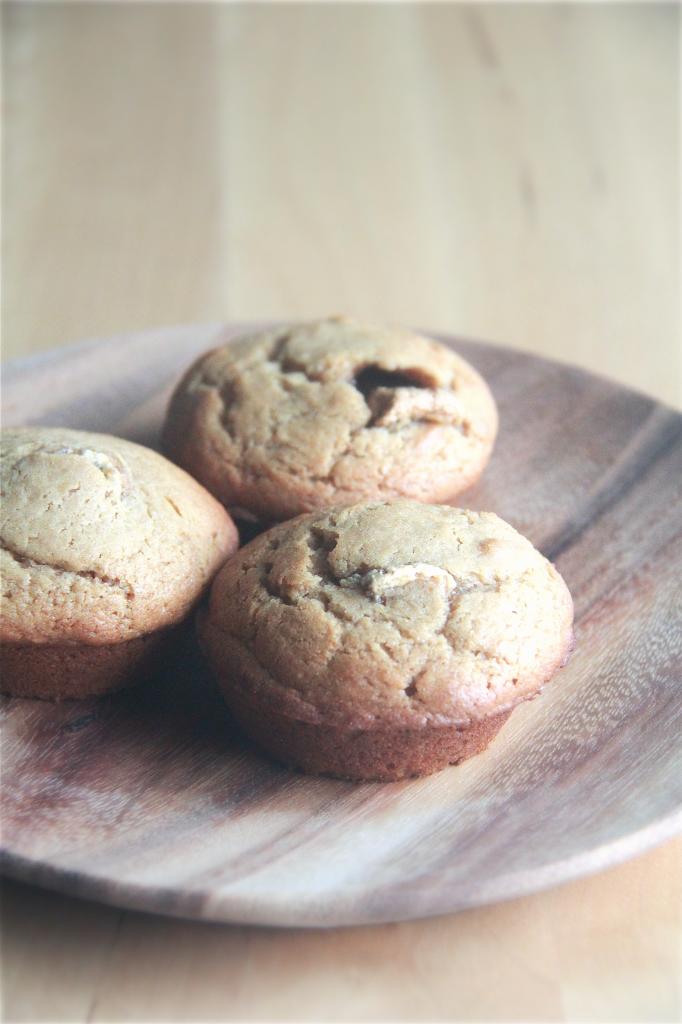
And it did! I loved these peanut butter marshmallow-filled muffins to the core (note the marshmallow middle reference too). They were sufficiently peanut-buttery, fluffy, moist and the tops were scrumptiously crunchy. Plus, they had gooey marshmallow centres! Can you say perfect fluffernutter muffin?

You need these in your life. Please.


Peanut Butter Marshmallow-Filled Muffins
makes 20 mini-muffins
adapted from here

I made these muffins in shallow muffin tins to get more crunchy tops and less "stumps". Make sure you let the muffins get sufficiently browned or the tops won't be as crunchy! Turn the heat up to 400F for the last 2 or 3 minutes of baking time to achieve that if they've yet to achieve your desired coloration.

225g all-purpose flour
1 1/2 tsp baking powder
1/2 tsp baking soda
60g butter
150g peanut butter
220g brown sugar
pinch of salt
1 tsp vanilla extract
2 eggs
100ml buttermilk

marshmallows, halved if necessary

Preheat oven to 350F. Prepare mini muffin tins.

Whisk the flour, baking powder and baking soda together.

Cream the butter and peanut butter together until smooth. Add the brown sugar and salt and beat until lightened and fluffy. Add the vanilla extract and stir to incorporate. Add an egg and stir to incorporate fully before adding the next.

Add half the flour mixture and stir just until combined. Blend in the buttermilk. Stir in the rest of the flour mixture.

Halfway fill each muffin cup, press a marshmallow into the centre and cover with more batter. Bake for 12 to 13 minutes or until an inserted skewer comes out mostly clean, with just a few moist crumbs attached.

Cool in the muffin tin for about 5 minutes before unmolding onto a wire rack. Eat immediately.

Friday, June 28, 2013

butter rum cake.


I have a designated spot in my house for taking the pictures for this blog- most bloggers do right? This spot is near my balcony, just behind the transparent sliding door that separates the outside world and indoor chaos. I chose it, most obviously, for lighting reasons- it is the spot in my house that allows the most sunlight to shine through, and even so, it's not a perfect location. I can't take pictures there in the morning because the rays of the sun are too harsh and no amount of clever photo editing can negate the overexposure damage done to the pictures. I should know- I've tried.

But I take what I can get. I usually shoot with my right facing outwards, towards the balcony. Consequently, when the light rays hit the food/props/stuff in the picture, the right side would be properly lighted up while the left side is slightly darker because of shadows. This problem can be rectified with the use of a white board of sorts propped up at the left of the set up to do something to the light rays coming in which I have no idea how to properly explain, leaving you with a well-lit photo all around.


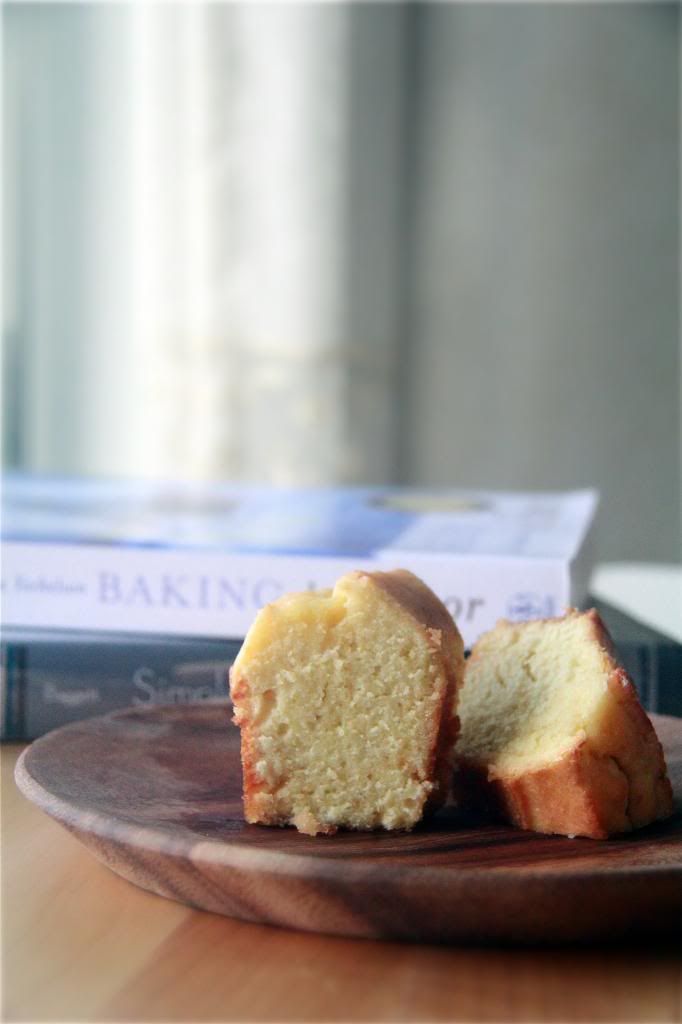
Today, I shot in the other direction. In other words, with my left facing outwards. Evidently, this yielded different results, as you can see from today's photos. It has a somewhat softer feel to it. I really like it. But it's not an effect I can apply to all my other desserts. I guess it works well for this cake because it's a rather homey simple cake, unlike frosted layer cakes with sprinkles and chocolate chips and all that decorative stuff that are usually better shown off well-defined.


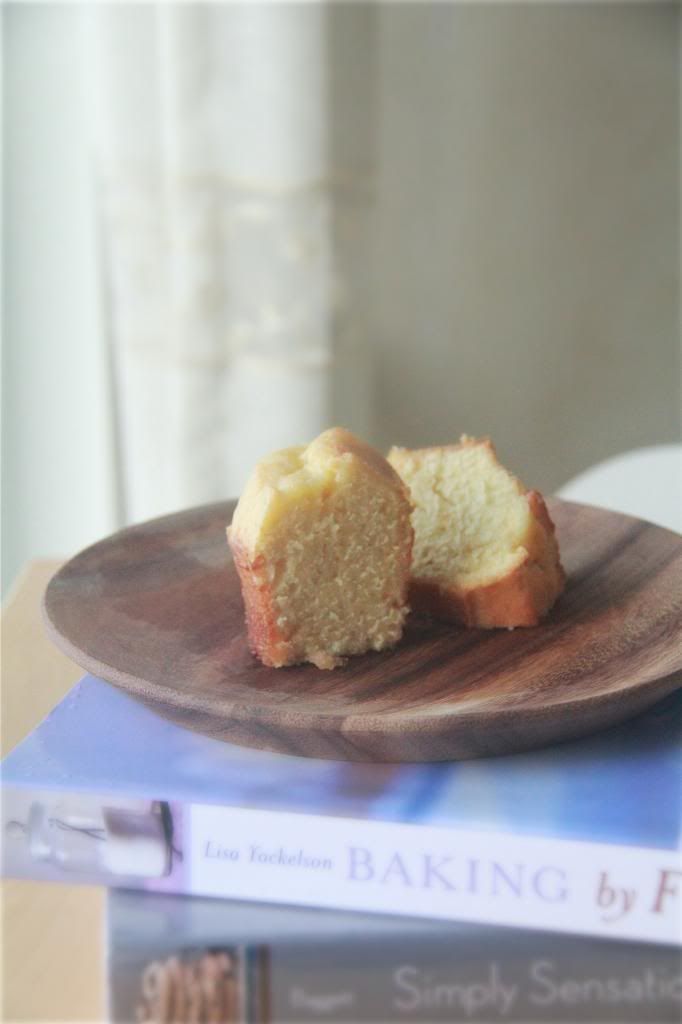
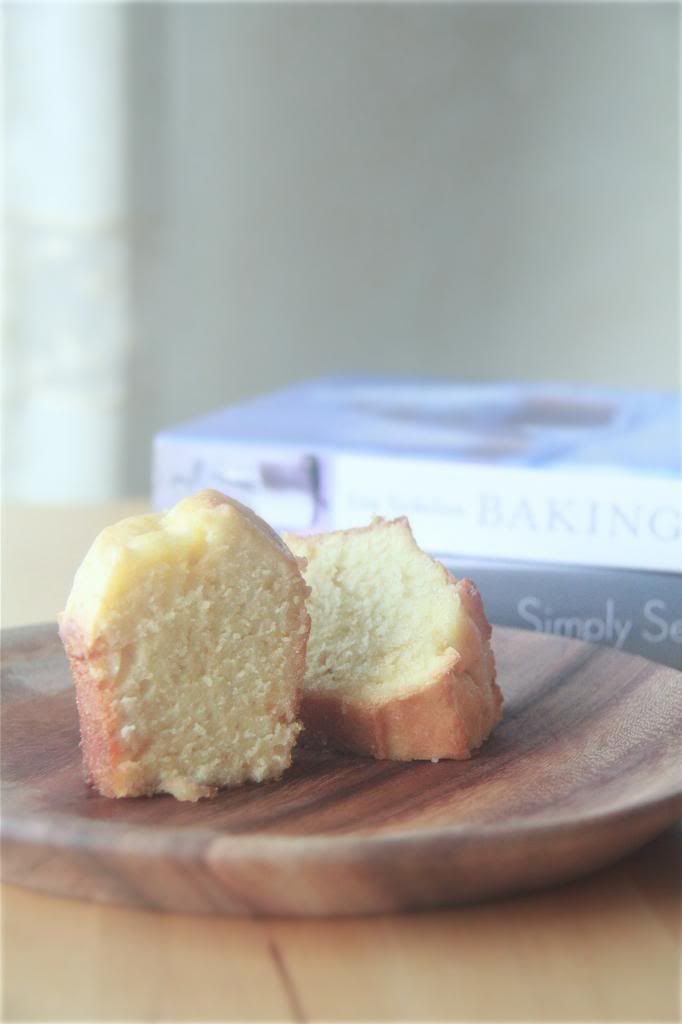
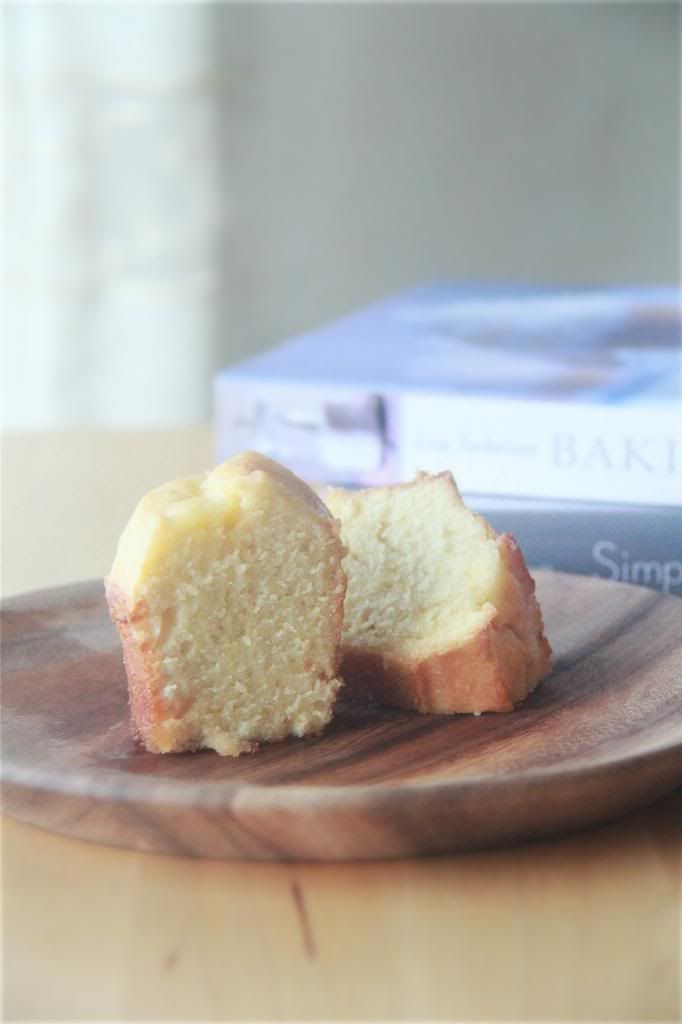
I should have taken a shot of the entire cake unsliced because with the glaze, it looks like a giant donut. With the glaze crusting over the surface of the cake to form this translucent shell plus being in a shape of a ring owing to the tube pan it was baked in, I dare you not to unconsciously think "donut". But even not knowing what the cake looked like whole, you'll still be pleasantly surprised at how good it is. I expected the batter to bake up into a rather dense, tightly-knit crumbed cake but no. It had instead, a feathery crumb that was soft and moist all at once. The glaze is probably the most important feature in this recipe. Think the very basic flavour elements of this cake, butter and rum, in a concentrated liquid form that when brushed onto the cake's surface, seeps through the tiny nooks and crannies down a little ways into the cake's interior, magnifying its flavour. I could drink that stuff.


Butter Rum Cake
makes a 10 inch bundt
adapted from Baking by Flavour

For the cake:
3 cups all-purpose flour
1/4 tsp baking soda
3/4 tsp freshly grated nutmeg
1 tsp salt
1 cup butter
2 1/4 cups sugar
4 large eggs
2 tsp vanilla extract
3/4 cup + 2 tbsp buttermilk
3 tbsp dark rum

For the glaze:
5 tbsp butter
1/2 cup sugar
1/3 cup dark rum
1/2 tsp vanilla extract

Make the cake: Preheat oven to 350F. Prepare a 10 inch bundt pan.

Sift the flour, baking soda, nutmeg and salt together into a bowl.

Cream the butter until smooth. Add the sugar in 3 additions, beating well after each addition, until light and fluffy. Add the eggs one at a time, beating to incorporate each before adding the next. Stir in the vanilla extract.

Add the flour mixture in 3 additions and buttermilk in 2 additions alternatively, beginning and ending with the flour mixture. Stir in the rum.

Scrape the batter into the prepared pan and bake for about 55 minutes or until and inserted skewer comes out mostly clean, with moist crumbs attached. Place the pan on a wire rack to cool while you make the glaze.

Make the glaze: Combine the butter, sugar and rum in a saucepan and set on low heat until the butter has melted and sugar has dissolved. Bring to a boil and simmer for 2 minutes. Remove from heat and stir in the vanilla extract.

Invert the cake out onto the cooling rack and brush the warm glaze all over the surface of the cake. Let the cake cool completely before slicing.

Monday, June 24, 2013

dobos torte.


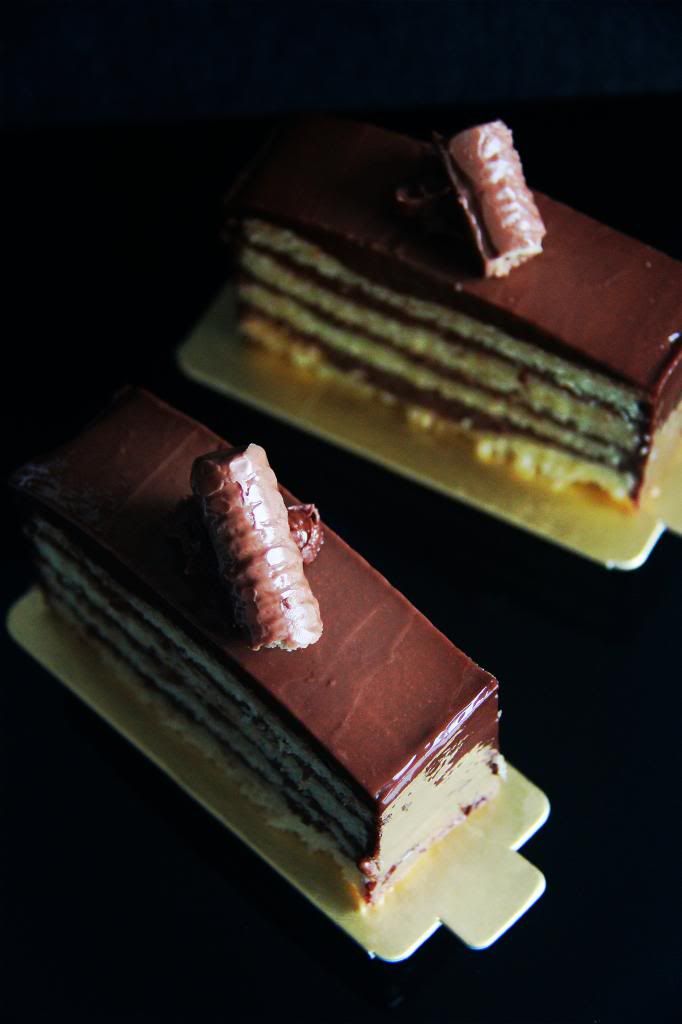
This dobos torte has so many things going wrong with it I'm not even sure I can call it a dobos torte. Perhaps I should call it "Dobos Torte(?)" instead, with question mark behind for its major identity crisis.

For starters, a traditional dobos torte is supposed to have seven layers of sponge. It is also baked in a round pan. This version is neither. It has four layers of cake and its rectangular. Well, I guess you can argue that a rectangular shape is more or less acceptable today but I think four layers of cake is really pushing it.


I also did away with the caramel topping because I had no extra layer of cake to pour the caramel on. I wanted to make a smaller cake so I divided the recipe by 3 and baked the batter in 2 separate 7 inch square cake pans. My plan was to split each of the baked cake lengthwise to get 4 thin layers of cake then down the middle to yield a total of 8 layers. My plan turned out to be a flop when I realized that the layers were simply too thin to be split. Consequently, I ended up with only 4 layers. (P.S. If you think pouring the batter into the pans and just roughly spreading it out, assuming that the batter would spread evenly out on its own once you place the pans in the oven to bake, no. No that's not going to work with this batter. So please get your spatula and spread the batter all the way to the edges of the pan. And spread it evenly too, or you'll end up with areas that are noticeably thicker and thinner. Just like mine. Urgh.)

I noticed that this sponge recipe is markedly different from most dobos tortes' recipes because of the lack of sugar. Instead, the recipe calls for a rum syrup to be brushed onto the cake layers after they're baked. The mistake I made here was to brush on too little syrup so the cake was a bit dry. Lesson learnt? Go crazy with the syrup. Use it all!


A traditional dobos torte just uses a chocolate buttercream to fill the cake layers and frost the outsides. I used my milk chocolate malt frosting in place of the chocolate buttercream to fill the layers, simply because I had extra. The chocolate buttercream here had me worried at first because it was way too watery to be used freshly made- you have to chill it first to get it to be spreadable. And this means that it melts quickly at room temperature.

So I mentioned earlier that I didn't make any caramel topping for the cake, but I couldn't bear to leave the top bare. I thought of just using chocolate wafer sticks broken down to more modest-sized pieces to decorate but I ran out of buttercream to prop them out. All I have to say is that thank god for nutella.


My impression of the cake wasn't very good overall, but I have to admit, I get immense satisfaction from making cakes with multiple layers, as much of a headache they can give me. There may be tons of better dobos torte recipes out there, but I'm glad that I've tried.

This recipe is taken from Bake It Like You Mean It, a really gorgeous book and one of my newest cookbook additions. You should totally check it out!

Friday, June 21, 2013

malted milk chocolate cupcakes.


I clicked on "New Post" to enter a page with a blank rectangular box slightly off-center, nearer to the left to be exact. Blogger users would be familiar with this set-up. I then proceeded to type in the title into the slimmer rectangular box near the top of the page. And then I moved my mouse down and left-clicked, the short vertical line disappearing and appearing and disappearing again at the top left hand corner of the content box. I sat back and thought, thought about how should I begin this post. I had no story of the day to tell, so should I just begin by describing the cupcakes? Or should I start off lamenting again that I had no idea how to begin writing. Surely after 451 posts you can forgive me for running out of creativity?

And then, boom.

There was a blackout, but I guess it could mean a stroke of inspiration too. Suddenly I knew what I could hinge on, and there you have it. My opening lines.


I'm entirely convinced that malt powder makes everything smell better. It might, just might, usurp cinnamon as my number one perfume-by-oven. Need good smells? Stir malt powder in cake batter and bake! But smells don't count for nothing if the cake itself doesn't taste good, and of course these cupcakes were far from blah. It would be great if they were a more tender, but that's just me- I'm just too used to chocolate cake batters using oil.


The more important subject at hand is the frosting. Correction: THE frosting. It is essentially a milk chocolate malt ganache enriched with butter, whipped to an airy and creamy consistency. I mean, how can you not like this frosting? It's not humanely possible.


I also adapted this recipe to a layer cake and added one more component as a filling for the cake layers- a toasted marshmallow seven-minute frosting. I basically toasted marshmallows on a sheet pan in the oven and folded the browned pillows of gooey sugar into a prepared seven minute frosting. Unfortunately, I didn't cook the sugar to the right temperature so the final product was soupy. Luckily after I added the marshmallows it started to firm up a bit. It tasted fabulous though! Toasted marshmallows really add a lot of flavour to what would otherwise be just saccharine fluff.


I should try a malt chocolate cake recipe that uses oil instead of butter. I have a feeling that it will be da bomb.


Malted Milk Chocolate Cupcakes
adapted from Vintage Cakes
makes 24

For the cupcakes:
2 cups all-purpose flour
2 cups sugar
2 tsp baking powder
1 tsp salt
1 cup malted milk powder
6 ounces unsweetened chocolate, finely chopped
1/2 cup unsalted butter
1/4 cup canola oil
1 3/4 cups whole milk, divided
3 large eggs
2 tsp vanilla extract

For the frosting:
12 ounces milk chocolate, finely chopped
1 cup malted milk powder
1 cup heavy cream
1 stick butter, cubed

Preheat oven to 350F. Line muffin pans with paper liners.

Whisk the flour, sugar, baking powder, salt and malted milk powder together.

Melt the chocolate and butter in a microwave until the mixture is melted and smooth. Stir in oil until combined.

Add the chocolate mixture to the flour mixture along with 1 cup of milk and beat until just combined.

Whisk the remaining 3/4 cup of milk, eggs and vanilla extract together until combined. Pour half of this mixture into the batter, beat until combined, add the remaining egg mixture and mix again until everything is incorporated.

Divide batter evenly among liners, filling each about 3/4 full. Bake for 20 to 24 minutes or until an inserted skewer comes out mostly clean, with moist crumbs attached. Cool cupcakes completely before frosting.

Make the frosting: Place the chocolate in a bowl. Whisk the malted milk powder and heavy cream in a saucepan. Set the saucepan over medium heat, stirring constantly, and bring the mixture to a simmer. Pour the cream mixture over the chocolate and let the mixture stand for about 5 minutes. Whisk the mixture until the chocolate is melted and smooth. Refrigerate until completely chilled.

Beat the chocolate mixture, gradually adding the pieces of butter, incorporating each piece before adding the next. After all the butter has been added, beat mixture until is lightened, smooth and thick. Use immediately or chill for a while if too soft.

Thursday, June 20, 2013

vanilla bean malt bundt cake.


Finally! My pictures are visible again and... I got myself a new plate! I've always wanted a wooden one but they're pretty expensive, so when I saw some on sale, I pounced, quite literally. There were 5 left on the shelf and I was about to just pick one up and leave when I noticed that the plate behind the one I took had a slightly different pattern and shade from the one I was holding. Out of curiosity, I briefly scanned the other plates too and realized that they were all slightly different! Well, I shouldn't have been surprised- how can you possibly get identical plates if they're made from something as natural and non-man-made as wood? And it wasn't just the pattern and color, even though the plates were of the same size, they weighed differently too. In particular, I noticed that the darker ones were heavier than those lighter in shade. It's amazing. It's as if the plates are like people- unique.


You could say that I baked this cake so that I could use my newest purchase of my plate collection (I have a thing for pretty plates- it's an addiction). But even if you don't have a new plate to show off, you should bake this cake just because it's so darn delicious. It's more than just your average vanilla cake. You know how brown sugar adds depth to a cake? The malt powder does the same job, with a different flavour. But it's not just some ingredient that is merely meant to be a supporting role to the main flavour of the cake, like instant coffee is to chocolate cake, because it's noticeable.

I like to underbake my cakes slightly so that they're nicely moist and I think this made the malt flavour pop even more. I love the bottom part of the cake where it's dense and moister than other parts, because that's where the malt flavour concentrates at. The surface of the cake gets a little sticky and would usually be such a source of annoyance but it tastes. so. good.

More malty recipes making their way to this space soon. You can bet your 1 stick of butter on it.


Vanilla Bean Malt Bundt Cake
adapted from Baked Elements

Instead of using a vanilla bean/vanilla bean paste + bourbon, I used 2 tsp of bourbon vanilla extract instead. I omitted the glaze.

For the cake:
1 vanilla bean or 2 tsp vanilla bean paste
1 tsp bourbon
1 1/2 cups all-purpose flour
5 tbsp malted milk powder
2 tsp baking powder
1/4 tsp salt
1 3/4 sticks unsalted butter
3/4 cup sugar
1/4 cup packed dark brown sugar
2 large eggs + 1 large egg yolk
1/2 cup buttermilk

For the glaze:
1 cup icing sugar, sifted
2 tbsp milk
1 tsp vanilla extract

Make the cake: Preheat oven to 325F. Prepare a 6-cup or 10-cup bundt pan.

Scrape the seeds from the vanilla bean and add it to a bowl with the bourbon. Alternatively, simply stir together the vanilla bean paste and bourbon.

Whisk the flour, milk powder, baking powder and salt together.

Cream the butter until smooth. Add in the sugars and beat until light and fluffy. Add in the eggs, one at a time, then the egg yolk, beating well after each addition. Add in the vanilla mixture and stir to combine. Add flour mixture in 2 additions and the buttermilk in one, beginning and ending with the flour mixture, and stirring just until combined.

Scrape the batter into the prepared pan and bake for 40 to 45 minutes, or until an inserted skewer comes out mostly clean. Cool in the pan for 45 minutes before unmolding onto a rack to cool completely.

Make the glaze: Whisk the icing sugar, milk and vanilla together until smooth. Drizzle over the cake. Let it set for 15 minutes before slicing.