I've Moved!

Thursday, April 12, 2012

summer berry pudding.


Another winner from Pierre Herme's other book, Desserts by Pierre Herme. I swear, that book's da bomb! Especially his creations involving mousse like here and here which I love like no other.

This dessert is made up of a mixture of berries saturated in an orange-vanilla syrup which was supposed to have mint but I didn't have at the moment, lightened-up lemon cream and a border of buttery toasted bread.

Clearly, this isn't a cake. But the way it is constructed prompted me to take out my serrated knife. I cut into it... and the filling oozed out. But no matter. All the more reason for me to brandish my spoon and scoop up the excess. A lot of excess.


The lemon cream used in the filling is something like lemon curd but employs a very different mixing method, with the butter whipped into it instead of being combined with melted butter. The result is a creamy, fluffy mousse like cream which is light years apart from lemon curd. It is phenomenal. I must try this with other fruits!

The lemon filling also consists of fromage blanc which I subbed with yogurt, whipped cream and gelatin to stabilize. It requires very minimal effort to throw everything together and you get a creamy refreshing mousse that's extremely addictive which pairs perfectly with the sweet berries.

I should have chose a bread with a softer crumb so that it would be easier to bite into. Somehow, a rustic loaf does not fit in with the word "pudding" although I love the slight saltiness it gave to the dessert. Speaking of saltiness, I tried the pudding with peanut butter as well. A complete bastardization but totally awesome!


I would make this again in a heartbeat.

Monday, April 9, 2012

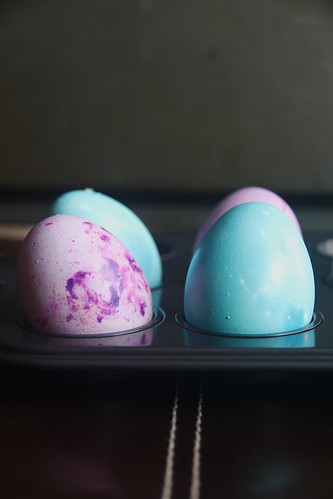
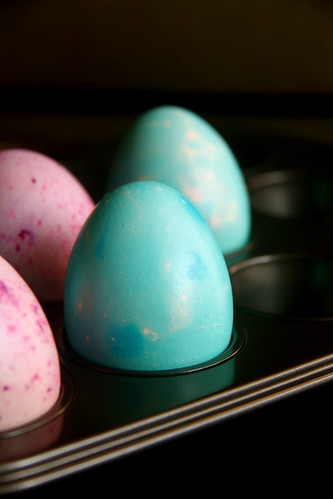
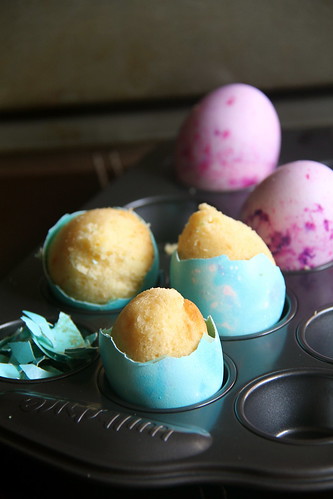
pound cake easter eggs.


I don't celebrate easter at all but I couldn't resist doing something easter-related this year when I saw pictures of cake baked in egg shells on foodgawker and tastespotting.


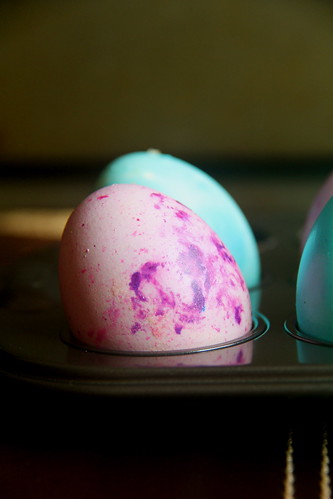
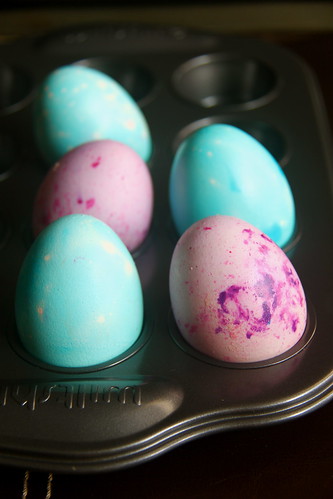
Because I've never done this before, I decided to dye my hollowed out eggs simply in pastel shades. Well, supposedly. The purple patterned ones were purely unintentional. My dye didn't mix homogeneously with the water and some stubbornly remained stuck on my spoon which I used to stir my eggs around with, resulting in those pretty swirls. Lucky me!


While searching for the method to dye eggs, I came across a website which has instructions for dyeing eggs  in various interesting patterns. I was enamoured by the idea of a marbleized easter egg and it turned out to be pretty easy to do, so I did. The secret is the use of oil, which prevents the dye from colouring the egg. So, more oil, more marbled effect.


To bake in these eggs, I chose a pound cake recipe from The Cake Bible by Rose Levy Beranbaum. I didn't want to go through the tedious process of oiling the insides of the eggshells so I reasoned that using a recipe that produces an "oiler" cake would prevent it from sticking without any pre-oiling of the shells. And it worked.


I only had 5 eggshells to fill so I had to divide the recipe. I didn't know how much by, and I didn't want to have any extra batter, so I ended up doing a fifth of the recipe. A really small amount, less than a cup. In the end, I managed to fill only 4 eggs. 3 of them overflowed a little, even though I filled them only slightly more than halfway. I didn't think that a pound cake would rise so much! If you're going to use this recipe, please fill the eggs halfway. No more, no less.


I loved the slightly dense crumb of the cake, but I found it a bit too sweet. I would reduce the sugar by a third. And instead of plain vanilla extract, I used vanilla bean paste. Yum.


Perfect Pound Cake
recipe adapted from The Cake Bible
fills about 22 medium eggshells or makes a 8 x 4.5 inch loaf

If you're baking this in hollowed eggshells, please fill them only halfway up. Mine took 10 minutes to bake. Ms Beranbaum says that the cake is most evenly moist when baked 8 hours ahead.

3 tbsp milk
3 large eggs
1 1/2 tsp vanilla extract (I used vanilla bean paste)
1 1/2 cups sifted cake flour
3/4 cup sugar (I would use less)
3/4 tsp baking powder
1/4 tsp salt
13 tbsp unsalted butter, softened

Preheat oven to 350F. Butter an 8 x 4 x 2.5 inch loaf pan, or any 6-cup loaf or fluted tube pan.

Lightly whisk together milk, eggs and vanilla in a medium bowl.

Place dry ingredients in a large bowl and mix on low speed for 30 seconds, until blended. Add the butter and half the egg mixture, and mix until dry ingredients are moistened. On medium speed, beat for one minute to aerate and develop the cake's structure. Scrape down sides.

Add the remaining egg mixture in two batches, beating for 20 seconds between each addition. Scrape down sides.

Pour batter into prepared pan. Smooth surface with spatula. Bake for 55 to 65 minutes (35 to 45 minutes if baking in a fluted tube pan), until a wooden toothpick inserted into the center comes out clean. Let cake cool on a rack in the pan for 10 minutes before inverting onto a greased wire rack. If using a loaf pan, flip the cake over so the top is up.

Sunday, April 8, 2012

matcha, yuzu and adzuki tea cake.


I am a huge huge fan of Pierre Herme. I aim to collect all his books one day. So, when I heard that one of his latest books (latest?), Pierre Herme Pastries, has been translated into english, I had to get it. Even though like most of his books, it was pretty pricey.


I didn't do much research beforehand. If I had, I would probably realize all the criticism circulating around about it. This book, sadly, is poorly translated, and does not do the pastry chef justice. But the fact is, I didn't do my research beforehand, so now I have a problematic pile of recipes before me. Nevertheless, I'm still in awe of the innovativeness of them all. Mr Herme manages to take classic timeless recipes and gives them a little twist with his obsession with quirky flavours. At least, they seem quirky to me. Black pepper with adzuki beans anyone?


This book is right up my alley, being one who tires of the common and boring combination of flavours easily. I bookmarked nearly half the recipes in the book, and nothing is stopping me from baking them all. And that is some determination I must say. Some recipes have up to 6 or 7 components. (Insert jaw-drop here.)

Before I venture into those complicated recipes, I decided to start with something easy and quick- a matcha, yuzu and adzuki tea cake.

And now, the problems start coming.


Firstly, there was a terrifying amount of sugar. The cake was meant to be baked in a 11 x 4 inch loaf pan, which is pretty close to a 9 x 5 inch loaf pan capacity. And check this out- 1 3/4 cups of sugar. Not including the soaking syrup. Throw in another 5 tablespoons for that.

Obviously I reduced the sugar quantity but it still ended up being way too sweet. Especially those areas which were moister with syrup. Personally, I don't think the soak was necessary. The cake was not that dry. Perhaps Mr Herme thought it was required because the cake boasts a modest amount of fat- just 7 tablespoons of butter for the entire recipe.

Texture wise, the top was strangely crumbly but not in a dry way, while the bottom had a closely-knit crumb which held together fine.

Instead of yuzu, I substituted a 50-50 mix of orange and lime. The flavour of citrus really stands out in this cake. I'm not a big citrus fan so I thought that the cake would be better without it. Just my opinion. I also omitted the green tea glaze, which I could tell had faulty instructions, because I used up the last of my matcha powder for the cake.

Lastly, the adzuki gelatin. I suspect that the recipe might have left out a step of mashing the cooked red beans into a paste before gelatinizing it as after freezing and slicing, parts of my gelatin broke off because the beans were left whole. Plus, the picture in the book showed a rather homogenous texture of the adzuki gelatin. Yes, this is one of the recipes which calls for black pepper. Although I don't really see the point of it because it doesn't show up at all. Still, you can't fault the classic combination of green tea and red bean.


Overall, I wouldn't call this a smashing success. I hope that my few years of baking experience will help me get through the glitches in this book. It would be such a shame to give up on it just like that.

Tuesday, April 3, 2012

caramel crunch bars.


Usually, winning recipes are defined by the presence of sweet-salty contrasts, textural contrasts and more often than not, include chocolate in some form.

Like this one.

The cookie base itself is a little bit salty while the milk chocolate and caramel bits on top are sweet, the cookie is also a little bit on the chewy side and then you have the crunch from the caramel, and obviously it includes chocolate.

I honestly think that the title of caramel crunch bars is far too humble. It should be more like superfrickindelicious chocolate-caramel coated chocolate chip cookie bar.


If you're wondering, by the way, why those shards of caramel look absolutely nothing like toffee bits, it's because they're not. Toffee bits are practically non-existent in my neighboring supermarkets so I had to settle for crushed up werther's original caramel candies. The substitution worked fine. Just perhaps a little less crunchy than toffee bits.

P.S. I bet these, chopped up into bite-sized chunks, would be heavenly mixed in with vanilla ice cream. Just saying.

P.P.S This is another Dorie recipe! Who else but her can churn out winners almost every time?


Caramel Crunch Bars
adapted from Baking From My Home to Yours by Dorie Greenspan
makes small 54 bars

For the base:
1 1/2 cups all-purpose flour
1 tsp instant espresso powder
1/2 tsp salt
1/4 tsp ground cinnamon
2 sticks unsalted butter, room temperature
1/2 cup light brown sugar
1/4 cup sugar
1 tsp vanilla extract
3 oz bittersweet or premium milk chocolate, finely chopped (I just used milk chocolate chips)

For the topping:
6 oz bittersweet or premium milk chocolate, finely chopped
3/4 cup Heath toffee bits

Preheat oven to 375F. Prepare a 9 x 13 inch pan.

Whisk the flour, coffee, salt and cinnamon together.

Beat the butter until smooth. Add the sugars and beat for another 3 minutes or until the mixture is light and creamy. Beat in the vanilla.

Add all the dry ingredients and mix until almost incorporated. Add the chopped chocolate and mix just until the dry ingredients disappear and chocolate is evenly distributed. Scrape the dough into your prepared tin.

Bake for 20 to 22 minutes, or until the base if bubbly and puckery. Transfer pan to a rack and turn off the oven.

Scatter the chocolate for the topping evenly over the top of the hot base and pop the pan back into the oven for 2 to 3 minutes, until the chocolate is soft. Remove from oven and immediately spread chocolate over bars using an offset spatula or the back of a spoon. Sprinkle the toffee bits over and press them down lightly with your fingertips. Place the pan on a rack to cool to room temperature.

If, by the time the bars are cool, the chocolate has not set, refrigerate them briefly to set the chocolate.

Sunday, April 1, 2012

blondie pie.


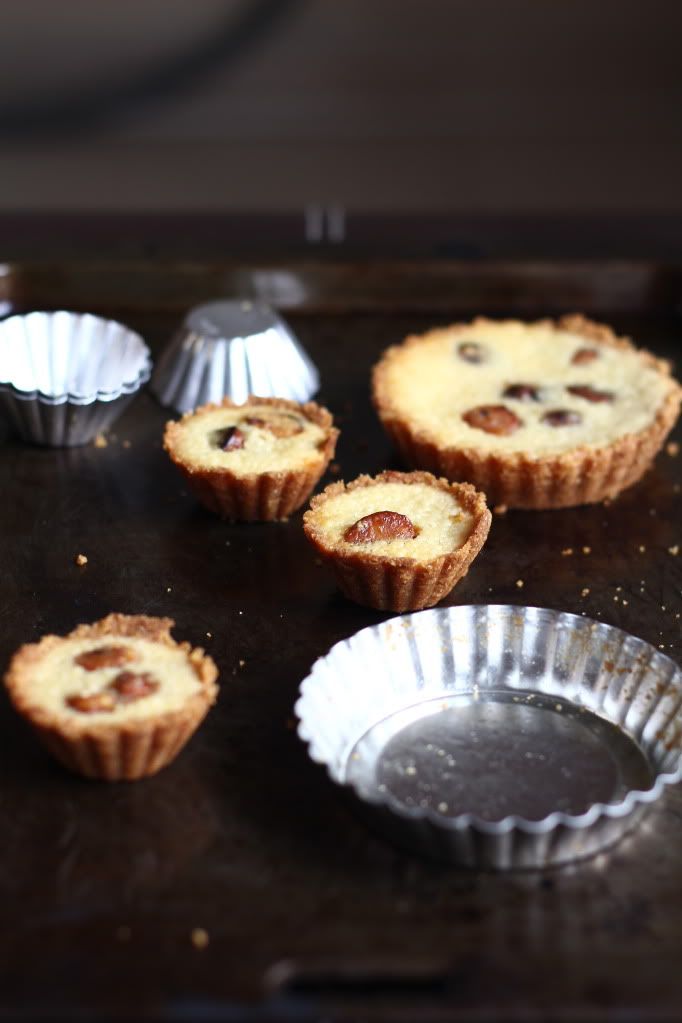
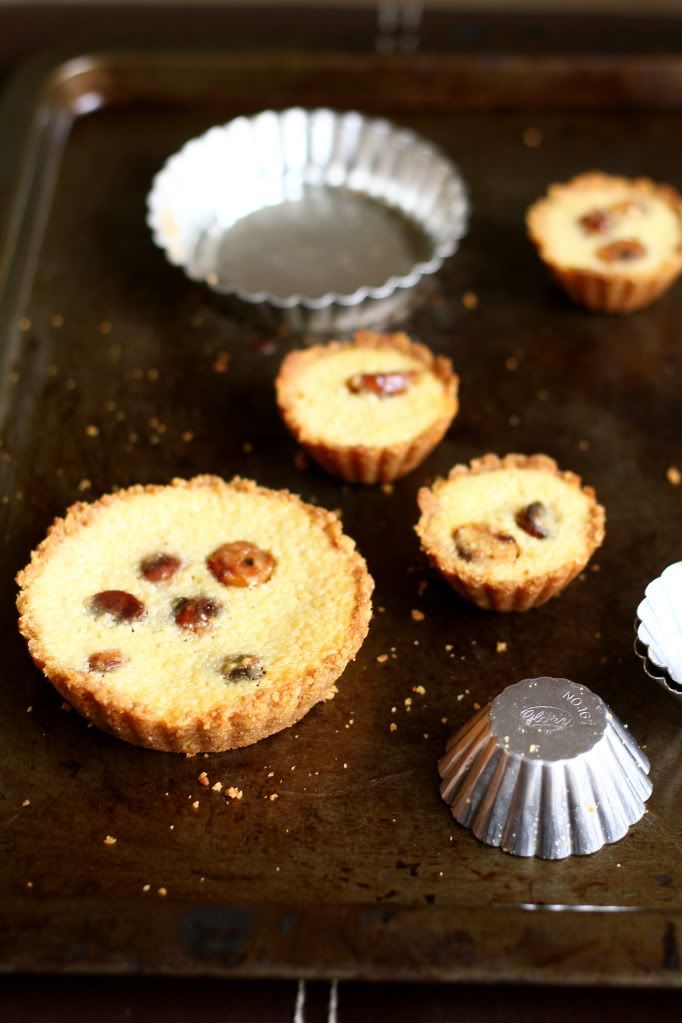
Well, we've heard of brownie pie, and now we have blondie pie. Who else would come up with this idea other than the folks at Momofuku Milk Bar?

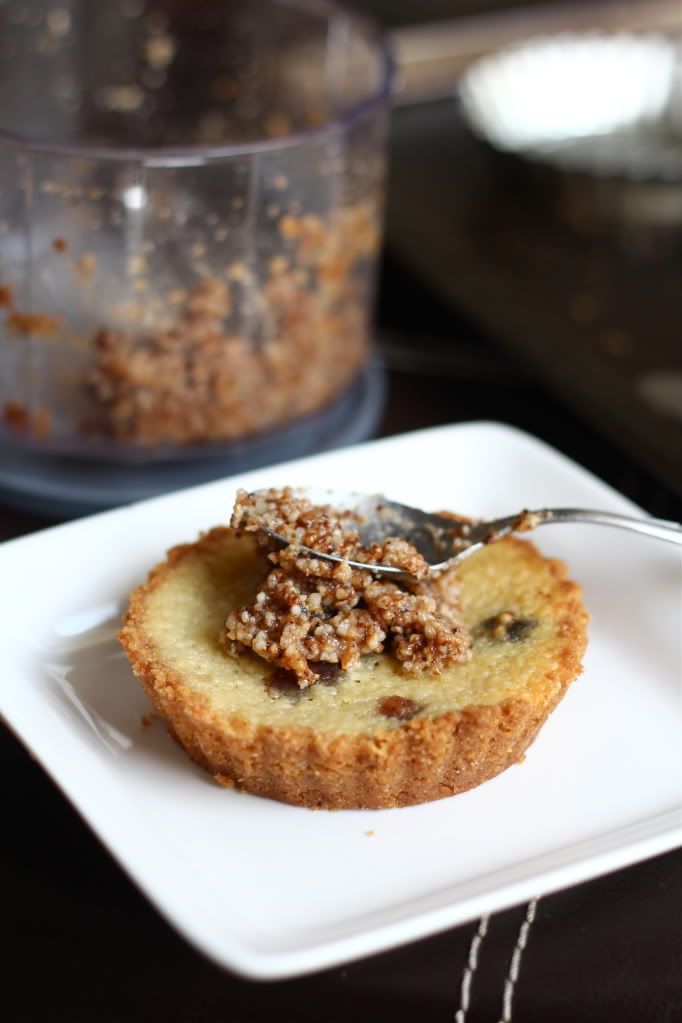
I was anticipating that this pie would be a good one. I love graham cracker crusts. I love white chocolate. And I love caramelized nuts. As you can possibly imagine, I was terribly disappointed when this pie wasn't as good as it sounds on paper.


The recipe did not instruct for the crust to be pre-baked, resulting in a soggy base and was lacking in that toasty fragrance that I look for in a good graham cracker crust. The sogginess could also be due to the extremely wet filling which I made even looser by subbing the heavy cream for milk. I was originally planning to use heavy cream, right up until I emulsified the melted white chocolate and butter with the egg yolks and sugar, which was ridiculously thick! I thought that if I went ahead with cream, the pie would be way too rich, hence my decision.

Anyway, back to the crust. Momofuku Milk Bar adopts an unorthodox technique by using a mix of heavy cream and melted butter to act as the "glue" to hold the graham cracker crumb mixture together. Personally, I don't think the use of cream is justified in this pie crust. Its milkiness numbed the nuttiness sort of taste of the graham crackers and as it wasn't pre-baked, the whole thing tasted like soggy cereal. Ew.


The blondie pie filling may sound like a sugar bomb but it honestly wasn't. The fact that I wasn't jumping up and down in my room while eating the pie is plenty enough proof. This is probably the only redeeming factor in this recipe.

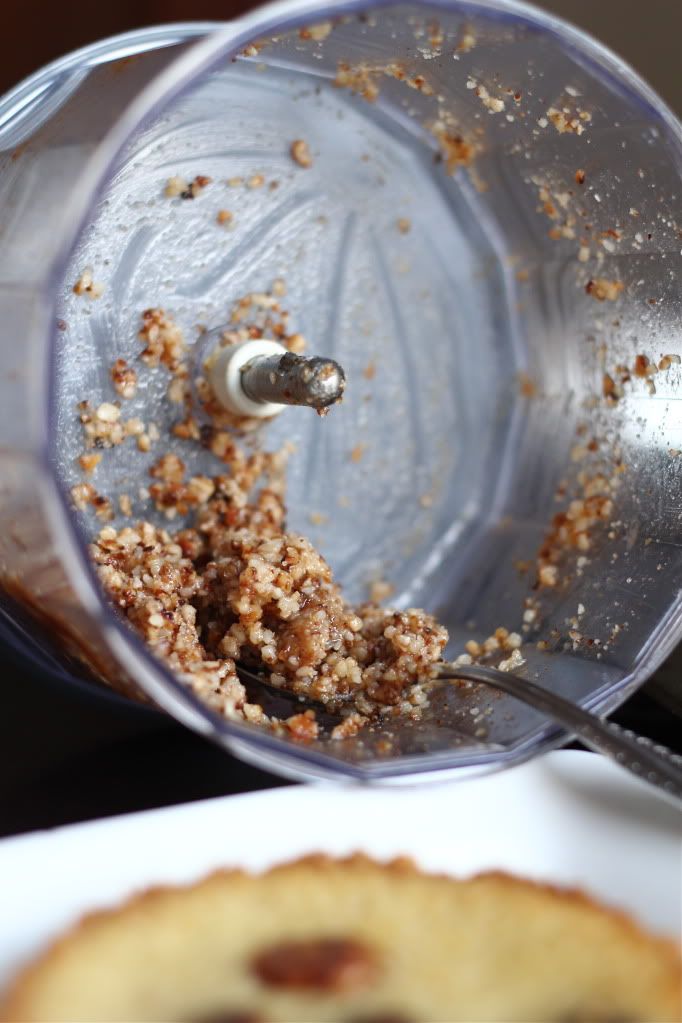
The recipe called for a batch of cashew brittle to be used in two parts of this multi-component recipe but I forgot to photocopy it (I borrowed Momofuku Milk Bar cookbook from the library) so I had to use my own brittle recipe. Perhaps if I had used theirs, the praline topping would make a deeper impression. The final product was basically finely ground caramelized nuts with a bit of moisture from added oil. Nothing special. Just a nut brittle in a different form.


Blondie Pie
makes a 10 inch pie
lightly adapted from the Momofuku Milk Bar cookbook

Graham Crust: (You will only need 3/4 of this quantity)
1 1/2 cups graham cracker crumbs
1/4 cup milk powder
2 tbsp sugar
3/4 tsp kosher salt
1/4 cup butter, melted, plus more if needed
1/4 cup heavy cream

Toss the graham crumbs, milk powder, sugar and salt together until evenly distributed.

Whisk the melted butter and heavy cream together. Add to the dry ingredients and toss again to evenly distribute. The mixture should hold its shape if squeezed tightly. If it is not moist enough to do so, melt an additional 1 to 1/2 tbsp butter and add it to the mixture.

Press into a 10 inch pie tin.

Macadamia Nut Brittle:
1/4 cup sugar
3 tbsp water
1 cup macadamia nuts, chopped into reasonably small pieces

Heat the sugar and water in a saucepan until 248F, swirling occasionally to evenly distribute the heat. Do not stir. Once the sugar syrup reaches 248F, dump in the nuts and stir them to coat. Remove saucepan from heat  and continue stirring the nuts around until a coarse sandy layer of sugar coats their surfaces. Return the saucepan back on medium heat, heating the nuts until the sugar starts to melt and caramelize. Stir occasionally to avoid burning them. When the nuts have caramelized, pour them out onto a baking sheet lined with a silicon mat or parchment paper. Allow the caramelized macadamias to cool completely before storing.

Blondie Pie Filling:
160g white chocolate
1/2 stick butter
2 egg yolks
40g sugar
1/2 cup heavy cream (I used milk)
1/3 cup flour
1 tsp kosher salt
1/2 recipe of macadamia nut brittle

Melt the white chocolate and butter and stir the mixture until its smooth. Set aside.

Stir together the flour, salt and and caramelized macadamias.

Whisk the egg yolks and sugar to combine. Add in the melted white chocolate mixture to whisk to combine. The mixture will appear curdled at first but keep going and it will emulsify into a thick batter-like consistency. Whisk in the heavy cream. Fold in the flour mixture.

Macadamia Praline:
1/2 recipe macadamia nut brittle
2 tbsp grapeseed oil (I just used a neutral tasting vegetable oil)

Process the nuts and oil in a food processor until it has completely broken down and almost liquified.

Baking and Assembly:
Preheat oven to 325F. (Although this step wasn't included in the book, I highly suggest that you pre-bake the crust before pouring in the filling. Maybe about 15 minutes or until lightly browned.)

Pour the filling into the pie crust and bake for about 30 minutes, or until the edges have darkened slightly and the center is slightly set. Let cool to room temperature.

Just before serving, top the pie with the macadamia praline.