I've Moved!

Monday, July 30, 2012

tea cupcakes with condensed milk icing.


I'm cursed. I swear I am.

It took me three tries to get this cupcake right. Plus the day before's one-egg-less mishap with my queen of sheba cake, it's a quadruple whammy. I hope I've used up my year's quota of baking failures, because it sure feels like it.

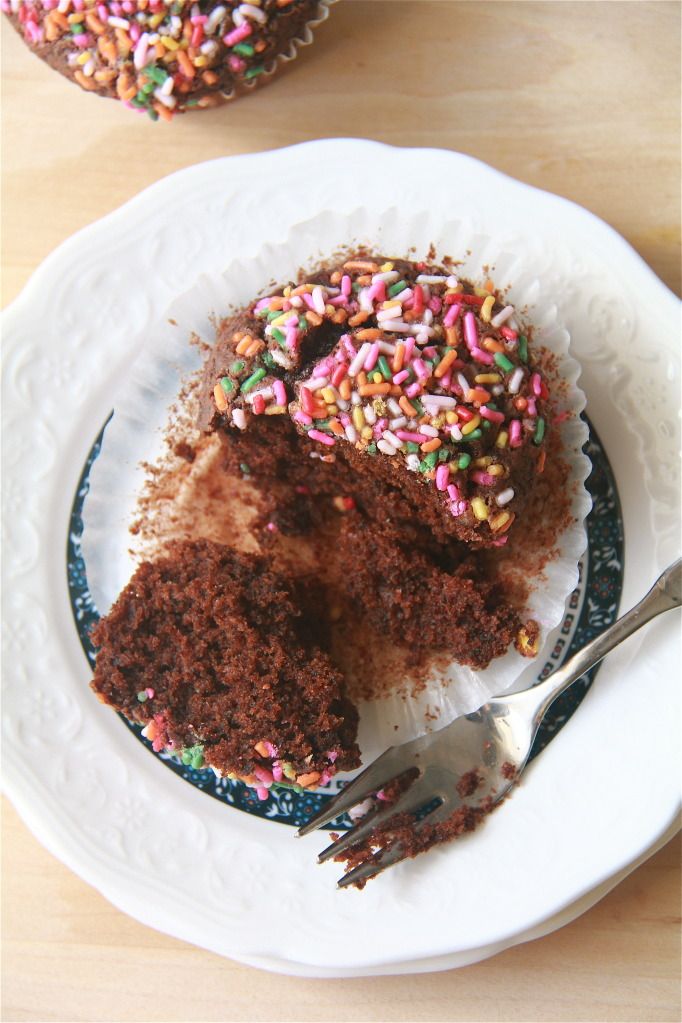
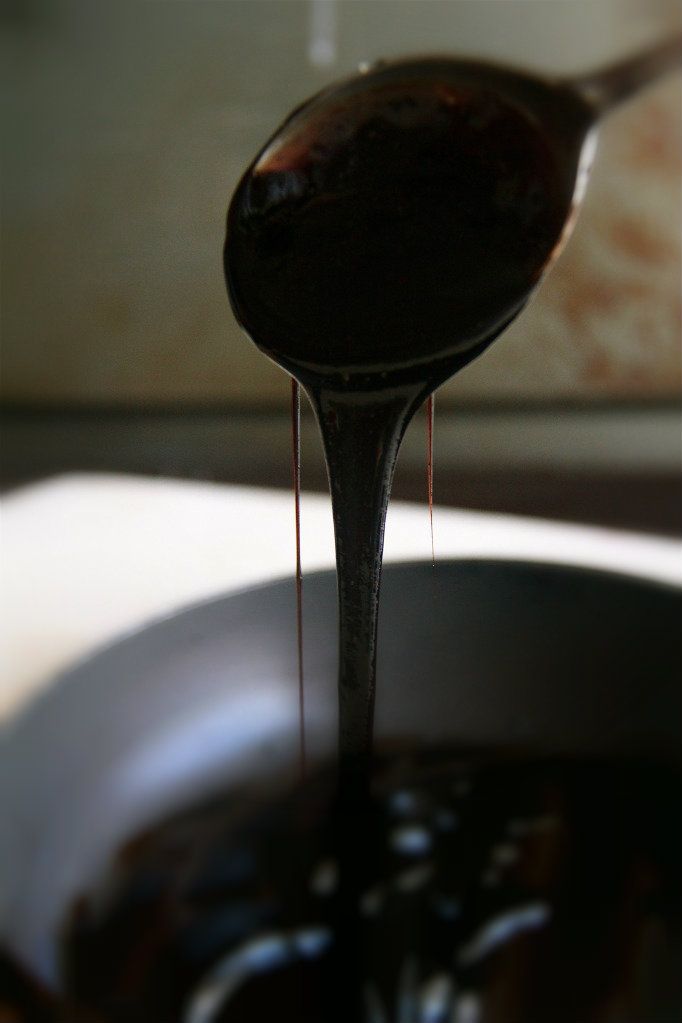
The first try, I did everything right except that I forgot to add in the tea leaves. I mean, it wouldn't be tea cupcakes without tea right? I only realized that something was up after the cupcakes have cooled, and I was debating whether to switch on the oven again to start a new batch. I decided to do that in the end because I could use some leftover ganache I've been meaning to use up to frost the tea-less cupcakes.

Batch #1
While making batch number two, I chanted to myself, "Don't forget the tea leaves. Don't forget the tea leaves." Luckily, I didn't miss out on the tea leaves or I would need to send my brain for repair. I mixed up the batter, and noticed that it was much stiffer and thicker than the one from the first batch. It appeared lesser in volume too. I did a quick mental checklist and I was pretty sure that I added everything. I even made sure I used baking soda instead of cream of tartar, in painful memory of this cupcake I once made.

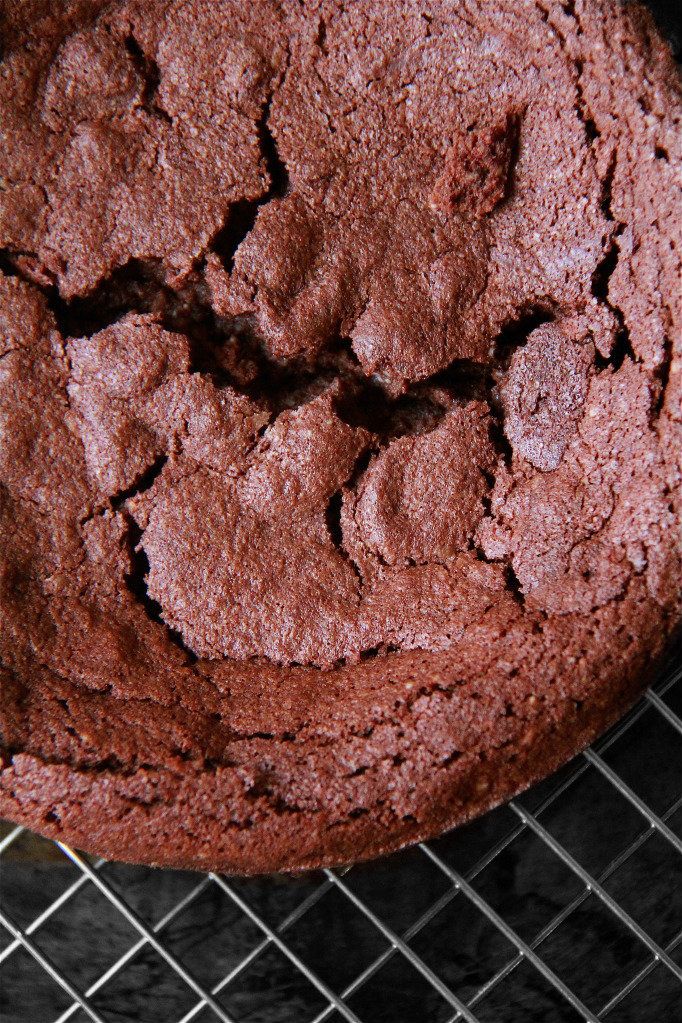
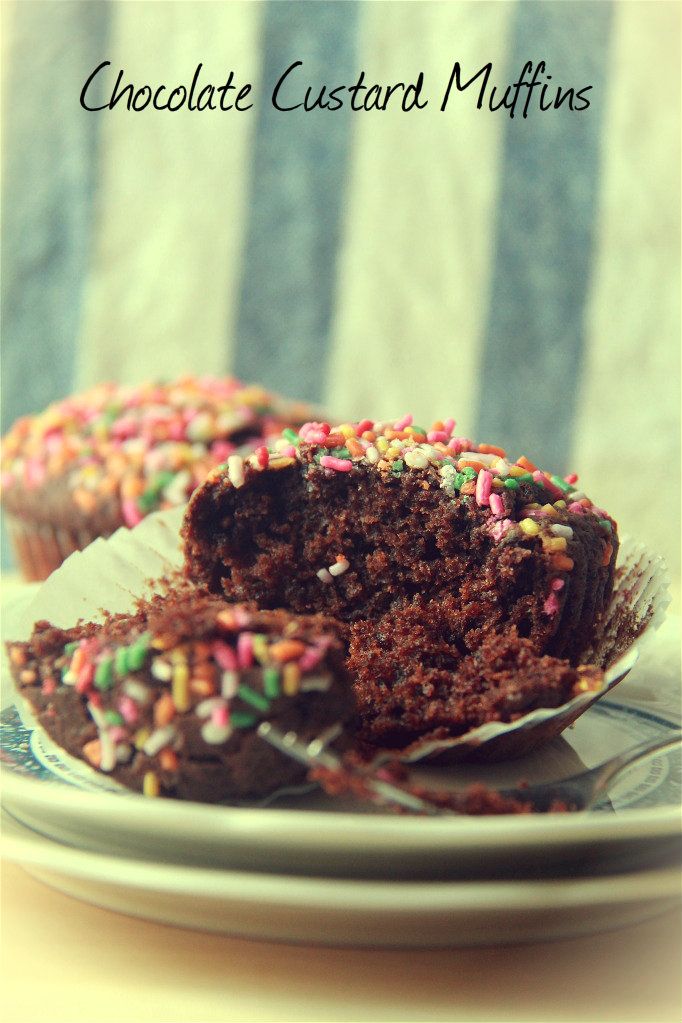
Still puzzled, I portioned out the batter and sent it into the oven. 15 minutes later, the cupcakes were done but they were strangely pale and had bubbles dancing on their surfaces. It was only then I realized that I forgot the sugar! Palm meets forehead. Say what?!

The cupcakes still turned out quite soft and tender but obviously, they were on the short side. Hmm... Sugar appears to have a property that affects baked goods that I've not known about yet. I actually tried these sugar-free cupcakes, and evidently still am alive, and I must say that they weren't too bad. They tasted savory because they had no sugar but a bit of salt, and if I'd added cheese or sun-dried tomatoes they could have fooled anyone. But they went into the trash anyway.

Batch #2
The final try, thank god because I wasn't going to succumb myself to another round of possible failure, I had my mistake-free cupcakes. And they were well worth the effort too. They were fluffy in the feathery kind of way and were moist with a nice buttery flavour. The tea flavour was also prominent and I was happy for it because I didn't steep the tea leaves in liquid but just mixed them into the batter as they were. I've just saved myself a lot of trouble knowing that I can sufficiently introduce a strong tea flavour without so much fuss. I just didn't like that the strands of tea leaves were too big and became a little chewy in the cupcake. I would grind the tea leaves down the next time I try to incorporate them into a batter. I would love to try this cupcake recipe plain and see how they fare because I think I'm on to a really good vanilla cake recipe here!

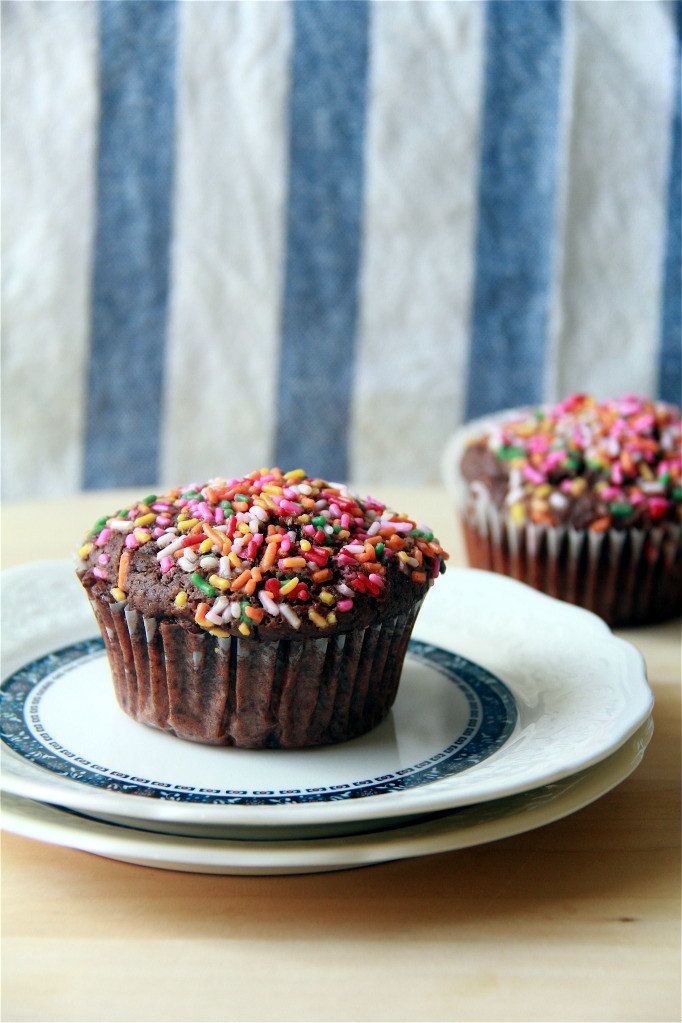
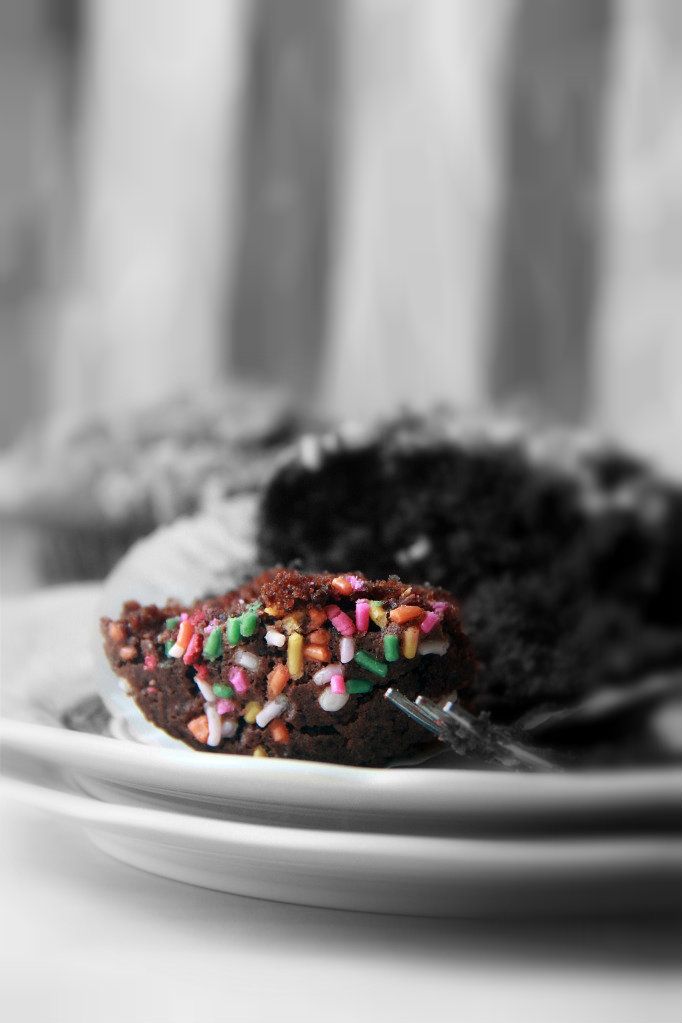
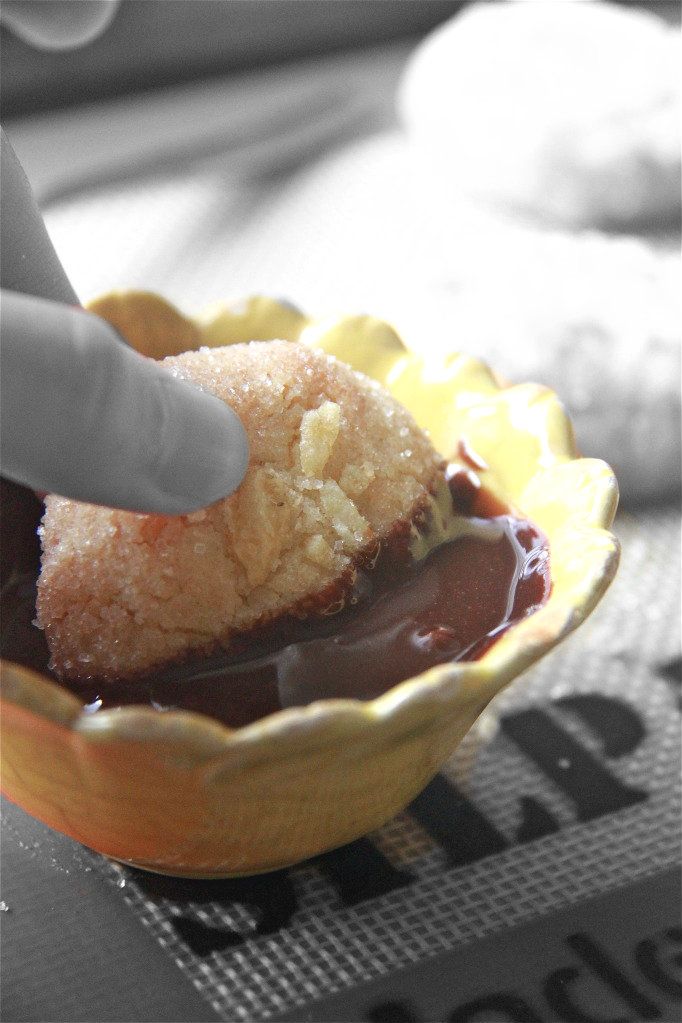
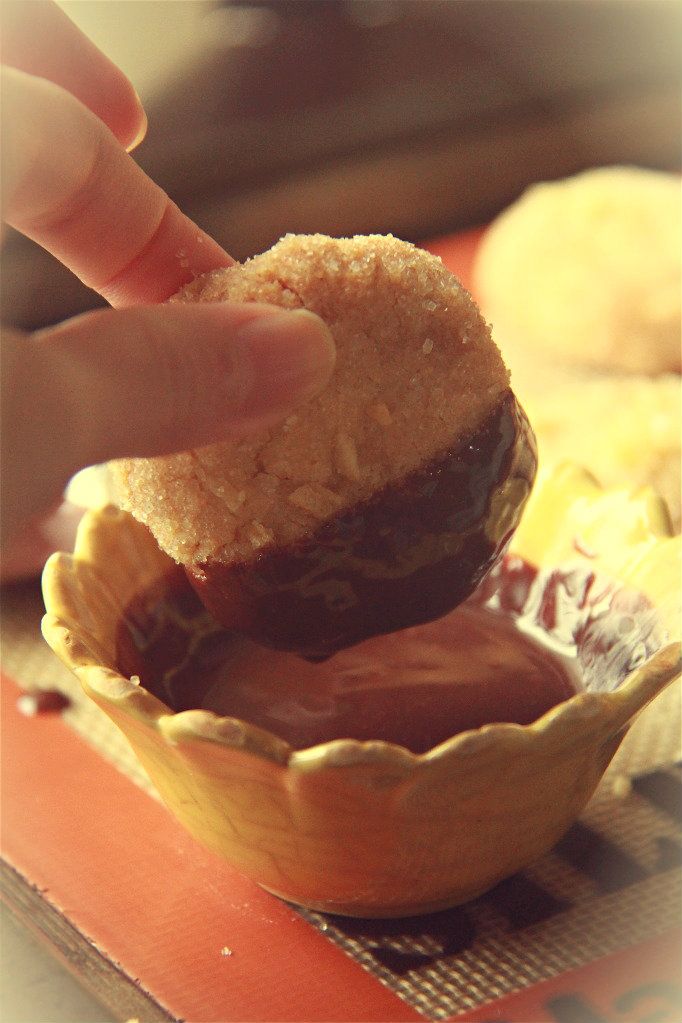
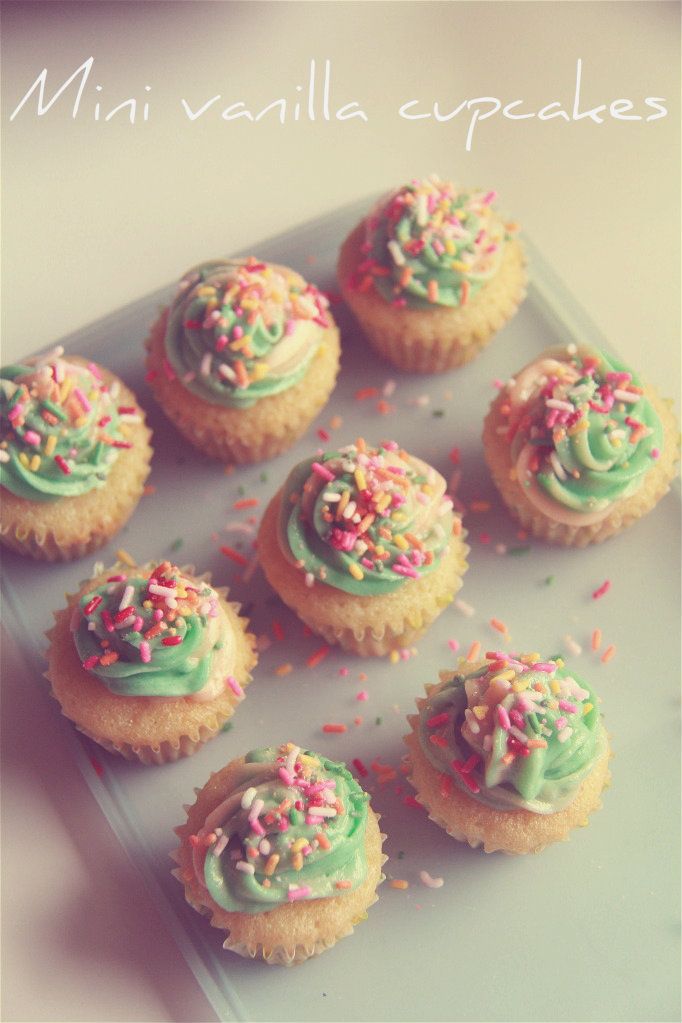
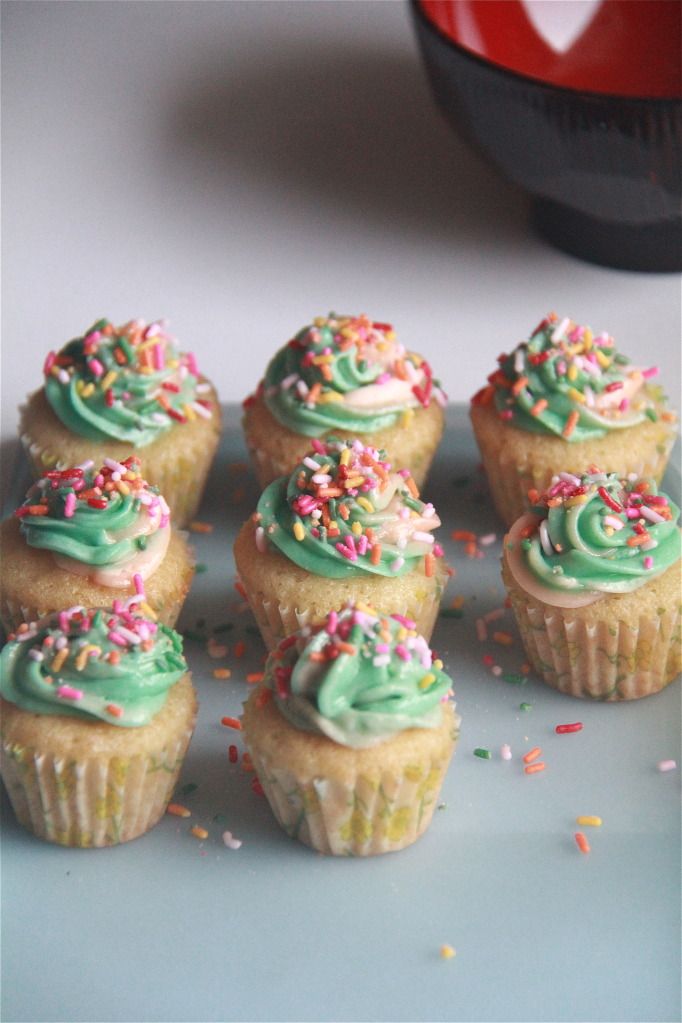
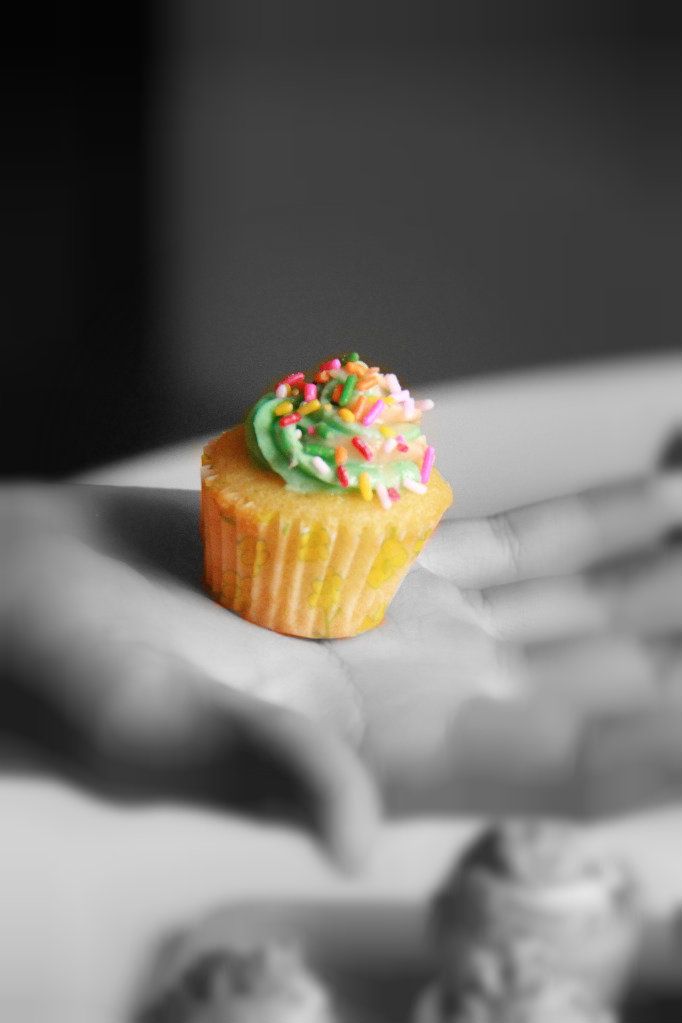
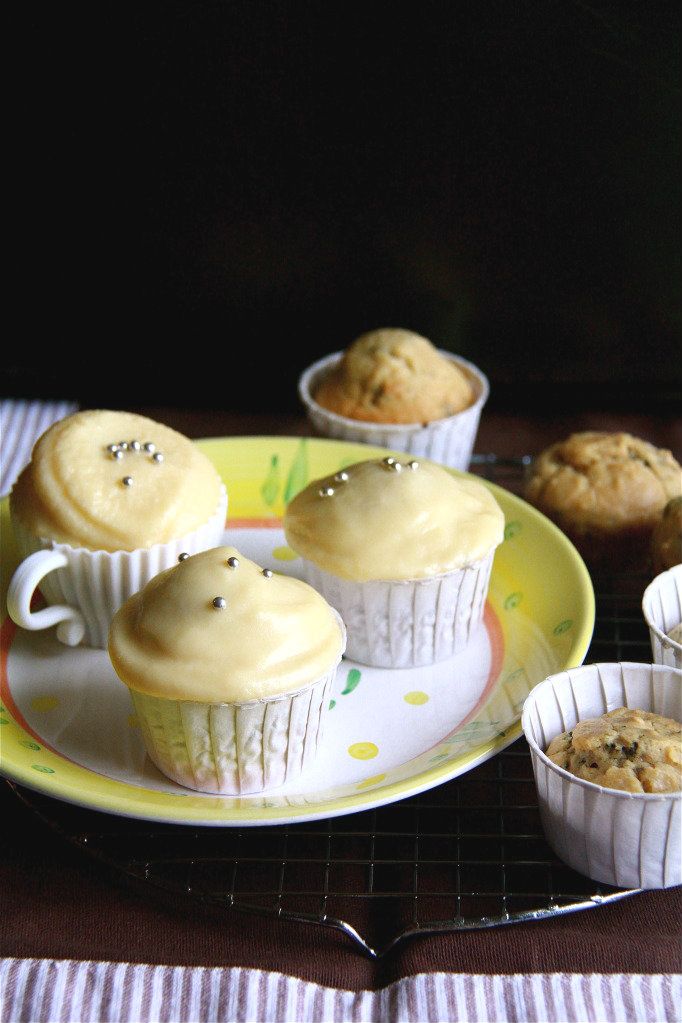
The condensed milk icing was a bit of flop. I imagined that it would be stiff enough to pipe but it quite apparently isn't. I was going for Sweetapolita's cupcake look and failed miserably. I guess that's why it's called icing and not frosting. But I love this frosting to bits! If there is proof that condensed milk and butter go hand in hand, this is the one. I shamelessly licked up all the leftover dribbles of icing in my teacup mold after the cupcake was devoured with much enthusiasm, and I would make another batch of icing just to do it all over again.

Make. This. Icing. You won't regret it.


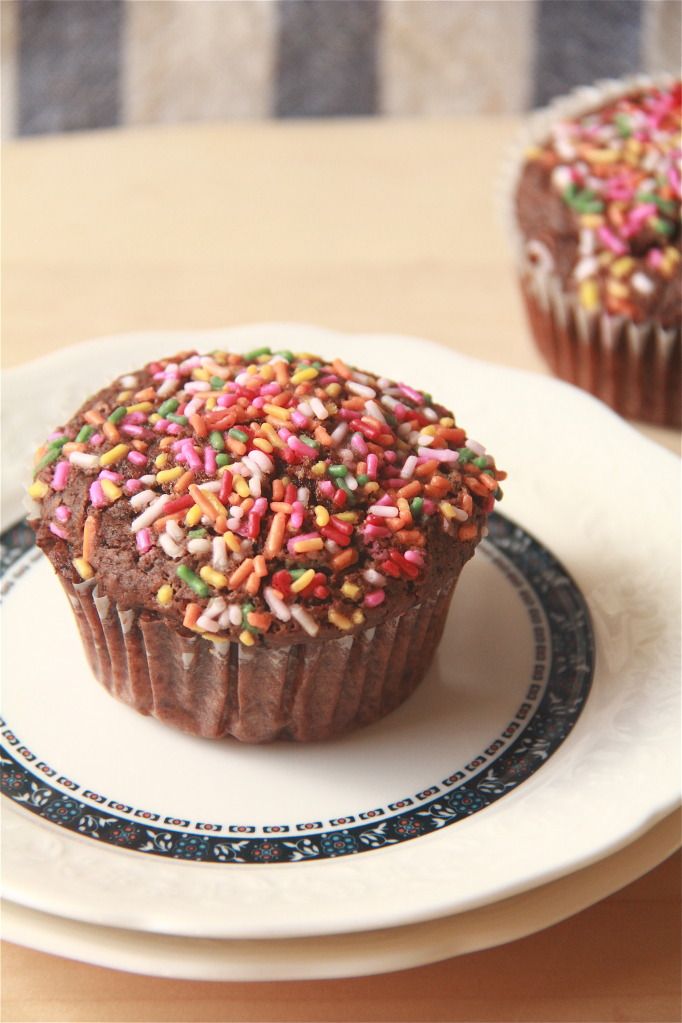
Tea Cupcakes with Condensed Milk Icing
makes 4
cake adapted from Scientifically Sweet

Measurements here are strange as they are a third of the original recipe from Scientifically Sweet. In the original recipe, the total yield was supposed to be 15 but I found that that would be stretching the batter a bit thinly so 12 would be a safer bet, and when divided by three, 4. I also reduced the sugar by a quarter.

Tea Cupcakes

1/3 cup all-purpose flour
1/6 cup cake flour
1/6 tsp baking powder
1/6 tsp baking soda
1/12 tsp salt
2 tsp tea leaves, ground
1/4 cup sugar
1/6 stick or 19g unsalted butter, softened
1 egg yolk
1 tbsp + 1 tsp sour cream
2 tsp oil
1/2 tsp vanilla extract
2 tbsp + 2 tsp milk

Preheat oven to 350F. Line 4 muffin holes with paper liners.

Mix the egg yolk, sour cream, oil and vanilla extract together until uniform. Set aside.

Sift the flours, baking powder and baking soda and salt together into the bowl of your mixer. Add the ground tea leaves and sugar and mix until incorporated. Beat in the butter until the mixture becomes sandy. Add the egg mixture and beat on low speed until a batter forms. Gradually add the milk and beat to incorporate. Be sure to scrape down the sides and not to overmix. The batter will be smooth and satiny.

Portion out the batter into the liners and bake for about 15 minutes or until a skewer inserted into the center of the cupcake comes out mostly clean. Cool the cupcakes completely before icing.

Condensed Milk Icing

45g unsalted butter, softened
2 tbsp condensed milk
3 tbsp icing sugar
pinch of salt

Beat the butter until it's smooth and creamy. Add the condensed milk and beat until combined. Beat in the icing sugar and salt until incorporated. Use immediately or chill it for a thicker consistency before using.

Saturday, July 28, 2012

queen of sheba cake.


I've accidentally left out some sugar in cakes... Baking powder and baking soda, definitely. Even the wrong amount of cocoa powder. And now the day has come to add another error into my hall of shame- I forgot to add in one of the eggs. As such, I hope that you take my comments about the texture and whatnot with a pinch of salt. Honestly though, even if I didn't realize that I left out an egg, I would say that this is a pretty darn good cake.


Essentially, this is a fallen chocolate cake. A fallen chocolate cake that is intensely chocolaty and unbelievably fragile. (Fissures appeared on the cake which was of no surprise to me, but I completely forgot that the cake needed extra TLC and I picked it up without adequate support to its base. Pooft. Cake split into half. Well at least it was almost an even half.)


The centre is creamy to the point of being gooey. If you're a chewy gooey brownie person, then this is definitely right up your alley. I would say that this is a bit too sticky gooey for me and I'm chilling the rest of the cake now to transform their texture into dense fudgy.

There are a few modifications I made to the recipe. I didn't have brandy so I used whiskey and I halved the recipe, reduced the butter by 1 tbsp (2 tbsp for the full) and baked the cake in a 6 inch round pan.


The alcohol, by the way, is detectable by smell but not by taste after baking. Alice Medrich, creator of this recipe, mentioned that the more butter you use, the more muted the chocolate would be and vice versa. I'm glad that I didn't cut the butter back more because that would be quite the bittersweet experience! She also has a recipe for a fallen chocolate souffle cake with no butter. Zilch. I bet that would be like, woah.


After making this recipe by Alice, I realized that Julia Child also has a recipe for a Queen of Sheba cake. Anyone has made both before? How do they compare?


Queen of Sheba
adapted from Bittersweet by Alice Medrich
makes a 6 inch cake

3 oz bittersweet chocolate, coarsely chopped
4 tbsp unsalted butter, diced
1 1/2 tbsp brandy
1/16 tsp sea salt
1/4 cup unblanched whole almonds
1 tbsp all-purposed flour
2 large eggs, separated
3/8 cup sugar, divided
1/16 tsp cream of tartar

Preheat oven to 375F. Line the bottom of a 6 inch springform pan with a circle of parchment paper.

Melt the chocolate and butter in a double boiler. Stir in the brandy and salt and set aside.

Pulse the nuts and flour in a food processor until the mixture resembles cornmeal. Set aside.

In a large bowl, whisk egg yolks and 1/4 cup of the sugar together until well blended. Stir in the chocolate mixture.

In a clean dry bowl, beat the egg whites and cream of tartar until soft peaks form. Gradually sprinkle in the remaining 2 tbsp sugar and beat until peaks are stiff but not dry. Scoop 1/4 of the egg whites and all of the nut mixture into the chocolate batter and fold them in. Fold in the remaining egg whites.

Pour the batter into the prepared pan, smoothing the top if necessary and bake for 25 to 30 minutes or until a skewer inserted about 1 1/2 inches from the sides comes out almost clean but a skewer inserted in the center is still moist and gooey. Set the pan on a rack to cool.

Tuesday, July 24, 2012

seven layer bars.


I remember my first seven layer bar. It was probably the height of my thumb and the whole medley of chocolate, coconut, nuts and I-dunno-what-else broke off from their rigid structure into bits and crumbs the moment I took an unglamorous bite. I have no idea how something so simple could be just so darn amazing.

The marked difference between that bar and these is the fact that these are more gooey and the layers have little desire to separate from each other, thanks to extra condensed milk. Double the amount, in fact. It is hence imperative that I ask you to exercise caution when baking these bars- not just referring to self-restrain or risk skyrocketing calorie intakes, but also because condensed milk is already very stubbornly sticky in its unbaked form, and even more so after a trip in the oven. You must line your pan with sufficient foil (I wouldn't recommend parchment because it turns soggy easily), enough to extend way above the height of the bars so that the condensed milk does not spill over and into the bottom of the pan. It would be a pain to remove the foil if that happens. Trust me, I know.


Seven Layer Bars
loosely adapted from America's Test Kitchen
makes a 9 x 5 inch pan's worth (12 modest bars or 8 larger squares)

Although I planned to follow the original recipe, I lacked a few ingredients which resulted in quite a change. For one, I didn't have any chocolate-coated toffee bits, the inclusion of responsible for making the crust uniquely buttery and salty. I also didn't have sweetened shredded coconut on hand. I swapped half the chocolate chips for white chocolate ones just for fun. I retained the element of the rice krispies though. Frankly, that was the component that got me interested in this version of seven layer bars so how could I leave it out?

1/2 cup digestives graham cracker crumbs
2 tbsp + 2 tsp brown sugar
2 tbsp melted butter
2 ounces chocolate, chopped
1/4 cup rice krispies
1/4 cup toasted pecans, roughly chopped
2 tbsp milk chocolate chips
2 tbsp white chocolate chips
1/4 cup desiccated coconut
1/2 a 14-ounce can of condensed milk
3/4 tsp vanilla extract

Preheat oven to 350F.

Combine the graham cracker crumbs, brown sugar and melted butter in a bowl. Press the mixture into the bottom of a foil-lined 9 x 5 inch loaf pan. Bake for 10 minutes or until browned and fragrant. Leave the oven on.

After removing the hot crust from the oven, layer on the 2 ounces of chopped chocolate onto it. Let it sit for about 5 minutes to melt slowly and then spread it evenly over the surface. Sprinkle over the rice krispies, toasted pecans, milk and white chocolate chips and desiccated coconut in this order. Pack everything down tightly with the back of a spoon.

In a bowl, whisk together the condensed milk and vanilla. Pour this over the bars. Bake for 17 to 20 minutes or until the top is browned. Let the bars cool completely before cutting. I recommend that you refrigerate them until firm before doing so. Or you could speed things up by using the freezer.

Sunday, July 22, 2012

chocolate custard muffins.


This muffin is not made with your average muffin method. I'm not referring to the creaming method traditionally reserved for cakes, and it's not even the easy stir-with-a-wooden-spoon route. This recipe requires you to make a thick cocoa slurry, or you could call it a pudding, before adding in the rest of the liquid and dry ingredients. I guess it's almost like adding instant pudding into your cake mix.


I've never really given chocolate cake recipes that call for instant pudding a second thought even though many rave about how awesome the cakes turn out. It felt like cheating, and I didn't want to rely on store-bought shortcuts. This recipe presented to me an opportunity to try out the pudding trick without having to buy that box of instant stuff. So I thought why not just give it a shot and see what all the fuss is about?


I now understand the cult following instant pudding has generated. The muffins were soft and spongey with a crackly crunchy top. They also had a deep chocolate flavour that did not disappoint. But I wouldn't call these muffins. They are way too light to be called muffins, and crumbly too. The moment I stuck my fork into my muffin, chunks of it broke off. While it is not a really pertinent problem, it makes for some messy eating which a muffin shouldn't be encumbered with. Muffins need to have enough structure so that you can eat them sans cutlery, befitting of the homey image muffins seem to represent. These would make great cakes- the title "muffins" is treading the line a little too precariously. But then again, because I ate one while it was still warm, the muffin would naturally be at its softest. The second day, the muffins were sturdier although still quite crumbly. 


I love the slight gumminess of the muffins that seem to concentrate more at the bottom or the "stump" of the muffin. No doubt thanks to the pudding! If you're looking for a muffin with a really crunchy top, then this would fall short. These have more of a thin crunchy crust that shatters with the slightest pressure.


The only change I made was to replace half the oil with water and the muffins were still plenty moist. I detected a bit of sourness in the muffins which could probably be due to using too much baking powder. It's not life-threatening, but you can reduce the amount to 2 tsp if you wish.

P.S. Don't you love how the sprinkles stand out against the dark chocolaty backdrop?


Chocolate Custard Muffins
makes 12 muffins
adapted from The Galley Gourmet 

3/4 cup + 2 tbsp all-purpose flour
2 1/2 tsp baking powder
1/4 tsp salt
5 tbsp cornstarch
3 tbsp dutch-processed cocoa
1/2 cup light brown sugar
1 cup water
4 1/4 ounces dark chocolate, chopped
5 tbsp butter
1/2 tsp instant espresso powder
1/3 cup oil (I swapped out half with water)
2 tsp vanilla extract
2 extra large eggs
1/2 cup + 2 tbsp sugar

Preheat oven to 350F. Line muffin tin with paper liners.

Whisk the flour, baking powder and salt together.

In a medium saucepan, whisk the cornstarch, cocoa powder, light brown sugar and water together. Bring the mixture to a boil, stirring frequently, until the mixture becomes very thick and smooth. Remove from heat and whisk in the chopped chocolate, butter and espresso powder until melted and combined. Whisk in the oil, vanilla extract and an egg until combined. Add the remaining egg and whisk until smooth and thick. Add the flour mixture and mix just to combine.

Divide the batter amongst the muffin cups and bake for about 18 minutes or until a skewer inserted comes out clean.

Thursday, July 19, 2012

potato chip cookies.


I expected the cookies to be a little more salty but I was wrong. These are just sweet crunchy shortbread cookies with barely a hint of salt. Perhaps it was the brand of chips I chose that wasn't as salty as I would have liked.


You could opt to dip them in chocolate or go au naturel. I used some leftover ganache for their chocolate bath. I hate to be radical but I preferred those left undipped. The cookies weren't salty enough to provide a sweet-salty contrast with the chocolate. Maybe if you make them saltier, the chocolate dip would be more justified.


These cookies are potentially great cookies. They just need more potato chips, and I've reflected that change below.


Potato Chip Cookies
adapted from Smitten Kitchen
makes about 36

I made just one change to the recipe, which is to replace 1/2 cup of chopped and toasted pecans with 1/2 cup of finely crushed potato chips instead.

1 cup unsalted butter, at room temperature
1/2 cup sugar
1 tsp vanilla extract
1/4 tsp table salt
1 cup finely crushed potato chips (leave some larger pieces for texture)
2 cups all-purpose flour

1/2 cup sugar
extra crushed potato chips, optional
sea salt, optional

Preheat oven to 350F. Line two baking sheets.

Cream the butter and 1/2 cup sugar together until light and fluffy. Mix in the vanilla and table salt. Add the potato chips and flour and mix until just combined.

Place the other 1/2 cup of sugar in a small bowl. Scoop a tablespoon-sized mound of dough and form it into a small ball. Roll the ball in the sugar until coated and place on the prepared baking sheet. Space the cookies about an inch apart. They do not spread much. Flatten the cookies and sprinkle with the extra crushed potato chips and sea salt, if using.

Bake cookies until lightly golden at the edges, around 15 minutes.

Monday, July 16, 2012

fresh strawberry tart with balsamic drizzle.


I usually don't go for fruity desserts because they seem too healthy. Desserts should be an indulgence- rich, creamy and downright sinful. Somehow though, I just couldn't avert my eyes away from the screen when I saw a picture of a fresh strawberry pie on a blog not too long ago. I had some strawberries in the freezer- and this tart was born.


The strawberry filling was scrumptious, to say the least. It was sweet and refreshing, and I couldn't stop spooning it in. I even managed to convince myself that because it was primarily fruit, it had tons of vitamins and I had every reason to stuff myself with it!


The only downside is that the filling is a bit too loose and my tart crust was soaked with it. I amended the cornstarch quantity below to make a filling with more viscosity. I think that no matter how thick the filling is, the tart should be served no more than 4 hours after it has been assembled, or the crust would lose its crunchiness. It should be possible to make the individual components in advance and assemble the tart at the last minute. (Chill the strawberry filling first and you wouldn't need to wait for an extra 2 hours.)

Oh yes the almond tart crust? The kitchen smelled wonderful while it was baking. Please bear in mind though that it is a bit more crumbly than your usual crusts and more prone to moisture.


Fresh Strawberry Tart with Balsamic Drizzle
I scaled the quantities of each component down to make one 4 inch tart and one 3 inch tart but I shall give the full original quantities here.

For the almond cinnamon tart crust:

This makes enough for a 9 inch pie crust so there should be more than enough for a 9 inch tart crust. I adapted this recipe slightly from Hungry Rabbit, omitting the lemon zest and adding ground cinnamon instead. The great thing about this dough is that it's gluten-free, so more people can join in the sharing and there's close to zero chance that you will overwork the dough. The not so good thing is that because there's very little butter in the dough, it won't release very easily from the pan after baking like normal crusts do. Hence, it is essential that you butter your pan before using.

2 3/4 cup ground almonds
3 tbsp sugar
1 tsp fine sea salt
1/2 tsp ground cinnamon
1/4 tsp baking soda
4 tbsp unsalted butter, cold and diced
1 large egg

Add all the ingredients except the butter and egg in a food processor and pulse until just combined. Add the butter and pulse until a sandy crumbly mixture is formed. Add the egg and pulse until just fully incorporated and until a dough is formed. Pat the dough into a lightly buttered or oiled tart pan, use a fork to poke some holes in the crust and chill for at least an hour.

Preheat oven to 350F. Bake for 20 to 30 minutes, or until the crust is browned and fragrant. Make sure to check on the crust halfway through the baking time to see if it's browning too quickly. If it is, cover loosely with aluminum foil. If the crust is puffing up, tamp it down with the back of a spoon. For smaller tarts, 10 to 15 minutes should do the trick. Allow the crust to cool in the pan for 10 minutes before unmolding it onto a wire rack. Let the crust cool completely before filling.

For the filling:

1 quart (about 2 pounds) fresh strawberries, hulled
1 cup sugar
5 tbsp cornstarch
juice of 1/2 a lemon

Chop half of the strawberries finely in a food processor or by hand. Place the chopped berries in a saucepan and cook over medium heat until their juices are released and bubbling. Mix the sugar and cornstarch together in a small bowl and add into the saucepan. Add the lemon juice as well and cook on low heat until the mixture thickens. Remove from heat.

Slice the remaining strawberries into halves if they are large. Leave smaller ones whole if you wish. Mix them into the cooked strawberry mixture. Pour the entire mixture into a bowl to cool before filling the tart.


Assembly:

1/4 cup balsamic vinegar
1 tsp brown sugar

Heat the balsamic vinegar and brown sugar in a small saucepan until it comes to a boil. Let it reduce until syrupy (when about 2 tbsp left)- the balsamic should cling to the back of your spoon. Be careful not to reduce it too much though! It will continue to thicken off the heat.

Fill the tart with the strawberry mixture and chill until completely cold, about 2 hours. Drizzle with the balsamic reduction.

Saturday, July 14, 2012

checkerboard vanilla cake with ganache frosting.


This cake is one of the cakes I'm most proud of in my cake-making history. I accomplished two techniques I've always wanted to use- the checkerboard pattern and basket-weave piping technique. It's almost tiring to say but these two methods are really effortless while being seriously impressive. Even if the checks aren't aligned or you didn't pipe in a straight line, the whole ensemble is dazzling enough to cover up the little flaws. Best of all, you don't need a checkerboard cake pan to make this cake!


Even though this is only my first time employing the use of the checkerboard design, I have some very useful tips that you might want to take notice of.

Firstly, ensuring that the horizontal layers of cake stick together is not enough. It is crucial that the inner layers within each horizontal layer adhere to one another too. Otherwise, the checks would just start to fall apart. This requires a little patience in applying the jam in the awkward hard-to-reach places but taking a bit more time to ensure that the layers are stable is better than watching your cake crumble into cubes right?


Secondly, preferably choose a recipe that does not having baking soda in it. Baking soda reacts with liquid so once you mix up a cake batter with baking soda in it, it is important that you get it in the oven asap or risk losing some height in the cake. I can personally attest to this. I only have one 6 inch pan and I had no choice but to bake each layer one after the other. For me, one layer took about 20 minutes plus 5 minutes cooling time. So 25 minutes would have lapsed before my second layer began baking. For the third layer, 50 minutes would have passed. I noticed a gradual decrease in height and increase in density of the cake.

In my haste to bake the third layer off, I accidentally underbaked my pink layer. Half of it was still a little raw and mushy after cooling and needless to say, I freaked. After the last layer was done, I rushed the pink one to the oven for an extra 7 minutes of baking but the damage was done. At least it wasn't as mushy as before. But I find the squidgy texture strangely delicious...


Thirdly, choose a recipe that you love love love to death.You're going to be eating a lot more cake than frosting, especially since you would want the cake have at least 3 layers for maximum visual effect. You wouldn't want to tire of the cake halfway through.

That having said, I baked a new recipe I've not tried before, from Whisk Kid. The use of milk powder in the batter intrigued me and I wanted to give it a go. It's not quite a vanilla cake, but it's not a yellow cake either. It's somewhere in between. Not very vanilla-y, not quite eggy. I think it tastes mild and subtle because of the milk powder. Nevertheless, it's an enjoyable cake.


Lastly, a not-too-fluffy is key for easier trimming of the cake. Perhaps it is not extremely crucial but it would be much easier if a denser cake was used so that crumbs can be minimized. Especially when there is a lot of cutting of circles involved in this cake. A way to beat the crumbs is maybe, to partially freeze the cake before stamping out the circles.


The basket-weave is really easy to do and I would definitely use the piping technique to decorate my cakes in future. The border at the bottom is the one I'm not quite pleased with though. I tried to use the ganache while it was still firm and my piping ended up forced and sloppy. But then again, I'm not that great at piping shell borders yet. Practice practice practice!


Checkerboard Cake with Ganache Frosting 
For instructions on making the checkerboard pattern, click here. You can use jam to "glue" the layers together.

For the cake:

This quantity here would yield 4 layers of cake. I used 3/4 of the recipe for my 3 layers. I feel that the sugar can be reduced by 3/4, to 3/4 cup, if you do not have such a sweet tooth. I also lowered the baking temperature to 300F so that the cakes bake up flat and even.

2 cups + 1 tbsp cake flour
1/4 cup powdered milk
1 tsp baking powder
3/4 tsp baking soda
1/2 tsp salt
1/2 cup butter, room temperature
1 cup sugar
1 tsp vanilla extract
1 egg + 2 egg yolks
1 cup buttermilk, room temperature

colouring, as needed

Preheat oven to 300F. Prepare as many 6 inch pans as you need depending on the number of different colored layers you plan to bake.

Whisk together the flour, milk powder, baking powder, baking soda and salt.

Cream the butter and sugar for about 5 minutes or until light and fluffy. Scrape down the sides of the bowl, then beat in the vanilla. Scrape down the sides again and beat in the eggs until combined. Add 1/3 of the flour mixture, mixing just to combine, then add half of the buttermilk. Continue adding the dry and wet ingredients in this fashion, ending with the dry.

Divide the batter depending on how many colours you intend to make and mix in the food colouring. Pour the batter into the pans and bake until a skewer inserted in the center comes out mostly clean and the sides start to pull away from the edges of the pan. For 1/4 of the recipe's worth of batter, it took me about 22 minutes.

Let the cakes cool before assembling. You can refrigerate them and let them firm up for easier handling.

For the chocolate ganache:

This makes 2 3/4 cup~ 3 cups worth of ganache. I used only 2 cups and a bit more for frosting my cake.

340g bittersweet or milk chocolate, depending on your preference
1 2/3 cup heavy cream

Finely chop the chocolate and place in a large bowl.

Heat the cream to a simmer and pour it over the chopped chocolate. Let it stand for 1 minute before stirring to melt the chocolate completely. Incorporate as little air as possible.

Let the ganache cool to frosting consistency before using. To speed up this process, cool it in the fridge, stirring every 20 to 30 minutes. It won't take very long so keep an eye on it or you will have to wait for the ganache to soften to use it.

Tuesday, July 10, 2012

mini vanilla cupcakes.


I made mini cupcakes with this recipe from Glorious Treats that I used before. I wouldn't call it my go-to vanilla cupcake recipe but it's pretty darn good. The cupcakes were light and fluffy in a spongey way and not too sweet with a perfect hit of salt. My only complaints are that the cupcake sticks to the paper liner a lot and it is a bit too soft. I would swap out the cake flour for all-purpose for a sturdier cupcake. I think there's possibly too much leavening too in this recipe. The holes tunneling through the cupcakes are pretty big.


I did a two-tone vanilla frosting to go on top of the cupcakes and showered them with sprinkles just because. The frosting was sweet, as usual, and paired perfectly with these slightly-salty cupcakes.


How about you? Which is your favourite vanilla cupcake recipe and what frosting do you usually pair it with?

Sunday, July 8, 2012

the elvis cake.


So.... Let's talk cake.

Peanut butter and banana happens to be one of my favourite sandwich combinations ever. Better than peanut butter and chocolate, and even banana and chocolate. Point is, in face of such an awesome protein-fiber combo, chocolate does not even stand a chance. Anyway, I decided to reincarnate this flavour pairing into a cake.


At first it started out pretty modestly. I thought of baking some moist banana cake and sandwiching and the layers with peanut butter frosting. Then when I found a peanut butter frosting recipe, I freaked out a little because there was so much butter and the yield was pretty small. There's no way I could change this fact, but I could use less peanut butter frosting (sobs). To do that, I had to omit the spread of frosting in between the layers. But I would still need something in the middle to hold everything together right? So ding ding ding! Sauteed bananas!

The sautéing was pretty uneventful apart from me being too timid with the heat and ended up mashing quite a few slices. When I started to pile them onto the bottom layer of the cake, I realized that I didn't have enough to cover the entire surface. I decided to smoosh the caramelized bananas with the back of my spoon and spread it around. It did the job- every inch was covered, but it was a pretty miserable layer. Not wanting to slice up another banana and repeat the sauteing process, I just sliced a fresh banana up and arranged it on top of the banana "jam".  Simple cake idea just became a bit more elaborate.


So I frosted my cake and reserved some to do some piping because I was so disappointed with my piping work on my previous cake. I think it turned out so much better this time but I could have made the shells a little closer. I'm really happy with it though!

Unfortunately, the center looked really bare and the ring of shells only served to highlight the empty space in the middle. Since the cake had protein (peanut butter), fiber (bananas), carbohydrates (practically the whole cake), it was lacking fat in an obvious form. So bacon came into play- a balanced diet right?


I baked the bacon strips in the oven until crispy and when I retrieved them, the baking tray was flooding with bacon fat. Ugh. I don't particularly like bacon, or even the smell of it, but I acknowledge that it does go extremely well with some foods. I'll do anything for cake. 

So I let them cool and crumbled them into tiny shards before sprinkling them onto the cake. I was worried that when I place the cake in the fridge later on, the moisture would cause them to loose their crispness. I can vouch that for the 4 hours of refrigeration the bacon underwent with the cake, they still retained majority of their crispy texture. But I can't guarantee you for longer though.


I couldn't wait to have my first slice! As expected, the flavours of peanut butter, banana and bacon totally gelled together. The banana cake was a bit underwhelming and I was a tad disappointed because this recipe came from Rose Levy Beranbaum who is to me, a cake goddess. It was moist, but not banana-y enough. Lucky thing that I thought to add caramelized and fresh bananas! Oh and about the filling, the cake didn't hold so well together because I didn't spread a layer of frosting in between. As a whole cake, there was no doubt that the cake would remain intact but as you near the end of your slice, the cake would start to slide around. Of course, you could always place it on the plate lying down but I always like mine standing up. Bottom line is: have some frosting in between to glue the layers together firmly.


Random babble: My backdrop fell on part of my cake as I was snapping one of the last few photos. Graawwhh! My beautiful (I think) piping ruined!

Anyway, that's enough verbal diarrhea from me now. Make this cake. For the sake of your health and sanity.


Banana Peanut Butter Cake with Bacon Shards (a.k.a The Elvis Cake)
makes a 6 inch cake

Banana Refrigerator Cake
mostly adapted from Rose's Heavenly Cakes

Note: This is my lazy way of preparing the batter- in just a blender. I assure you that the original steps are not like this but they do require a few more bowls.

1 very ripe banana
1/4 cup buttermilk
1 large egg
1 tsp lemon zest
3/4 tsp vanilla extract
85g sugar
1/4 cup oil
100g plain flour
1/2 tsp baking soda
3/4 tsp baking powder
1/4 tsp salt

Prepare a 6 inch round cake tin. Preheat oven to 350F.

In a blender (or food processor), blend the banana and buttermilk until creamy and smooth. Add the eggs, lemon zest and vanilla and blend until smooth. Add the sugar and blend on medium speed for one minute. Gradually drizzle in the oil, blending until completely incorporated. Add the dry ingredients and pulse them in, being careful not to over mix.

Pour the batter into the prepared pan and bake for about 30 minutes or until a toothpick inserted in the center comes out mostly clean. Let it cool completely, preferably also chilled overnight, before slicing into two layers.

Peanut Butter Frosting
adapted from America's Test Kitchen

This should yield more than enough to fill and frost the entire cake.

1 1/4 sticks unsalted butter, softened
2/3 cup creamy peanut butter
1 1/2 tbsp heavy cream (I didn't need this)
1 1/4 tsp vanilla
pinch salt
1 1/8 cups icing sugar

Beat the butter, peanut butter, cream, vanilla and salt in a large mixing bowl until smooth, 1 to 2 minutes. Reduce the mixer speed to medium-low and slowly add the icing sugar and beat until incorporated and smooth. Increase mixer speed to medium-high and beat until light and fluffy.

Caramelized Banana Filling

You could double this quantity and omit the fresh sliced bananas.

1/2 tbsp butter
1 banana, sliced
1/2 tbsp brown sugar

Place a saucepan on medium high heat. Add the butter and when it melts and starts to sizzle, add the banana slices. Ensure that the banana slices are spread out in one layer. Cook until one side of the banana is caramelized before flipping. When the second side is almost done, add the brown sugar and stir it around to coat the bananas. Remove from heat. It's okay if some of your bananas end up mushy.

Assembly

Banana cake layers
Peanut butter frosting
Caramelized banana filling
1 banana, sliced
Bacon, cooked until crispy and crumbled (I used 3 strips)

On the bottom layer of cake, spread a thin layer of peanut butter frosting. Add the caramelized banana filling on top. You will need to smoosh it around in order to cover the surface. Add the fresh banana slices. Pipe a ring of frosting along the outer edges and press down the second layer of cake on top. Frost the cake with the remaining peanut butter frosting. Sprinkle over the bacon shards. Refrigerate for at least 4 hours to set the frosting before serving.

Saturday, July 7, 2012

crunchy-top chocolate chip muffins take 2.


It was with much regret that I chose to bake this same recipe in those paper liners last time. I ended up with muffins that had too little crunchy surface area. I promised myself that I would make these muffins again, in their rightful muffin tin, so that I could have more of that droolicious muffin top. So here they are!

I talked about my ideal muffin before. Basically, I wanted a muffin that expands upwards and outwards, instead of just aiming for the sky. To achieve this aim, I tweaked this recipe a bit, adding baking soda as another leavening agent. I didn't do any proper research, but I remembered reading that baking soda helps the baked good to spread outwards. I think it applies for cookies. I wasn't sure if it would apply for muffins but I tried it out anyway.


I'm not too sure if it worked, because I didn't make my previous batch in the same muffin tin to compare, but I'm happy with the results nevertheless. Strangely enough, the muffins that were baked in different parts of the oven rose differently. I always make sure to rotate the trays and tins halfway through baking time, but it seems like the first few minutes are always the crucial defining moment for how the baked good would turn out. In this case, the muffin that baked at the innermost left of my oven, my oven's hotspot, rose mostly upwards and not so much sideways. This muffin you see here was baked somewhere in the middle of the oven where the temperature was more mild. It has a larger and flatter top as compared to the one which I baked at a "hotter" temperature. I think this is because baking at a lower temperature allows the centre of the muffin to bake almost at the same rate as the outsides, and the centre expands before the outside sets into a hard crust, resulting in a flatter muffin top. Allowing the crust to set before the insides have a chance to cook and rise would restrict the "growth" of the muffin outwards, if you can picture it. (P.S I baked at 200C or 400F)

Therefore, my conclusion for large, flat top muffins is to bake them at lower temperatures.


Another reason that is hampering my goal of a large, flat muffin is, I guess, the use of too much flour. To make a really high rising muffin, more structure than usual is needed, and that's where the extra flour comes in. But because I'm looking for a muffin that expands vertically, and not horizontally, I don't really need that much flour. In fact, a looser batter may be preferred as it does not make the leavening's job as hard as a stiff batter would. Too stiff a batter, especially with my preferred method of mixing (which includes the whipping of eggs), would most probably result in a dry muffin. These muffins actually turned out on the dry and crumbly side. I could have overbaked them slightly, but this problem was already prevalent in my previous batch.

Second conclusion- a looser batter by using less flour or more liquid.


Hopefully, with these guidelines I can be a bit closer to my perfect muffin recipe. Watch this space.

Monday, July 2, 2012

a pastel swirl birthday cake.


It's amazing, just how many different ways you can frost a cake. Every time I turn around, it seems like a new frosting method pops up. For that reason, I often find myself making layer cakes just to try out the new frosting technique.


I first came across this blending of different coloured frosting technique on spicy ice cream, but followed the tutorial on Sweetapolita. Sweetapolita is such a talented cake decorator- she makes it look so easy but trust me, getting the colours to merge in just the right amount and smoothing the surfaces are a lot more finicky than they seem. Perhaps it's because my cake was short, which allowed minimal room for blending so I had to be extra careful on not to overdo it or the individual colours wouldn't have a chance to stand out.


All the effort was worth it though. I loved the girlish feel the cake had and it almost looked like a pretty picture, right until before I started piping.


I wanted to go for a shell border but obviously it looks like anything but. I really need to practice more. Luckily, there is nothing sprinkles cannot fix!


The cake itself is a simple hot milk sponge cake with marmalade sandwiched in between. I chose marmalade because its slight bitterness would provide a refreshing contrast from all the sweet vanilla frosting.


I totally feel like making a super tall 3, or maybe 4, layer cake so that I can use more colours!


On a side note, I should really start utilizing the photo editing in photobucket. There are so many new effects to choose from!