I've Moved!

Sunday, August 25, 2013

white chocolate chip brownie + mixed berry jam + chocolate ice cream bars.


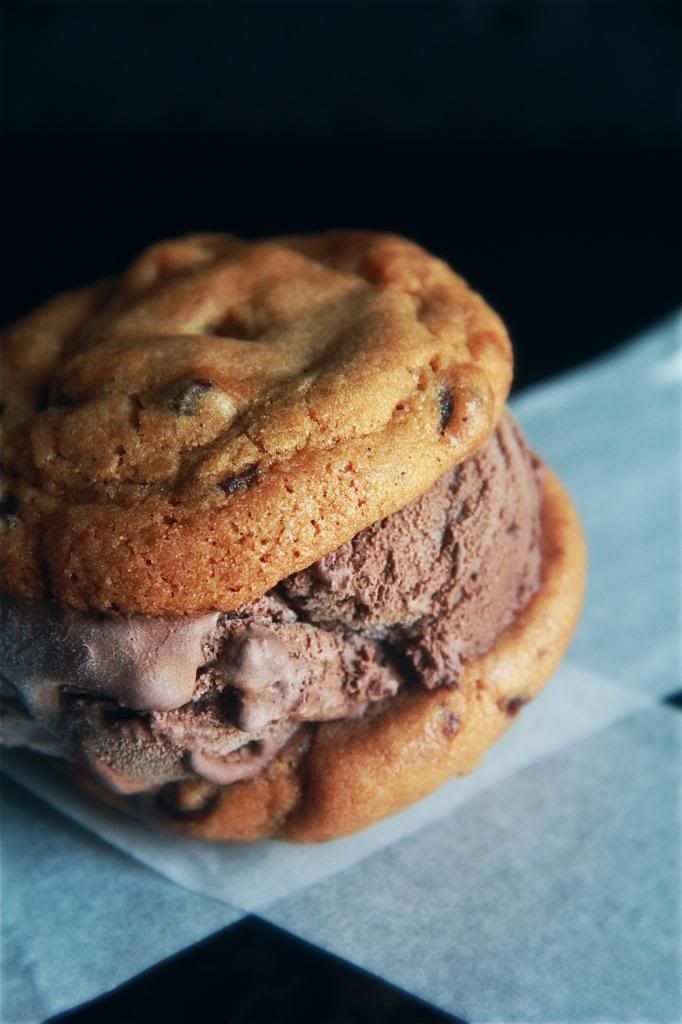
Well that's a mouthful. To be honest, I wanted to add in "marshmallow" and "m&m" into the recipe title to but I had no idea how to slot it in. Perhaps to cut it short, I should have just named these the ice cream bar version of the everything-but-the-kitchen-sink cookies.

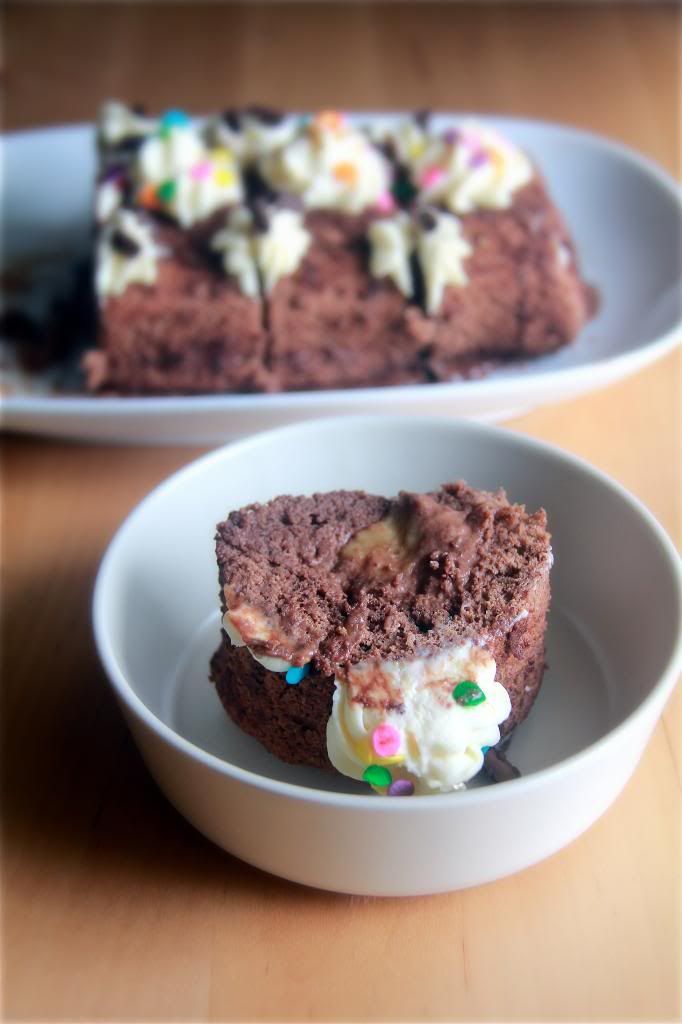
If the name doesn't sum it up as accurately as possible, let me give you a rundown of the components. From bottom up: white chocolate chip cocoa brownie, mixed berry jam, chocolate ice cream, marshmallows and m&ms. Actually it doesn't sound so complicated listed this way doesn't it?


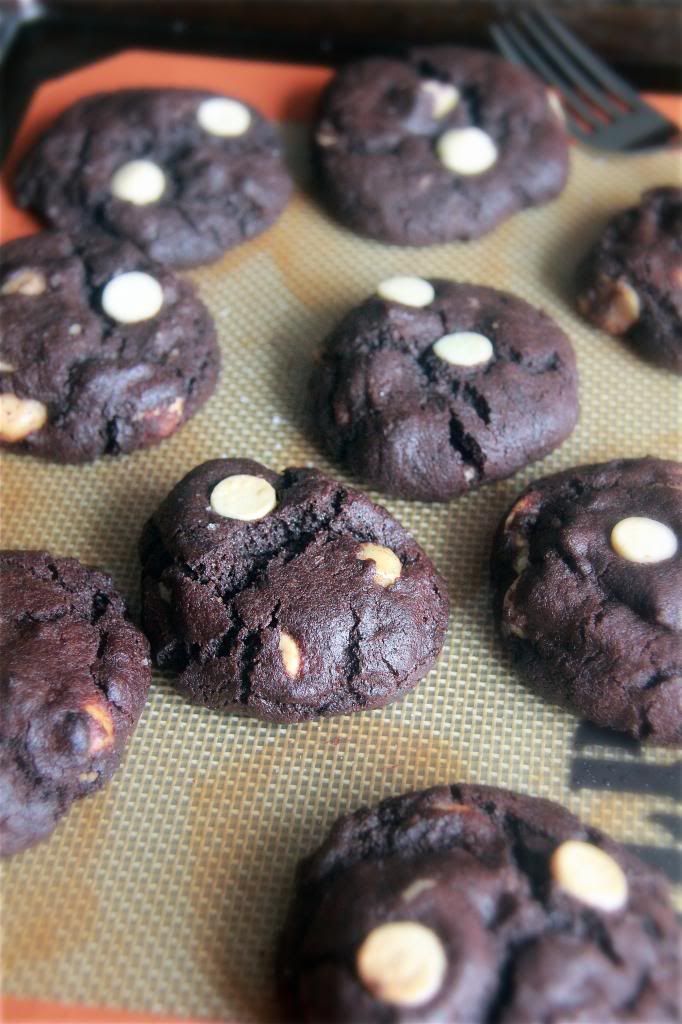
I didn't start out with such an ambitious and complicated plan. I really just planned to make a simple ice cream sandwich at first. But then I realized that I had a small handful of white chocolate chips lying around in the fridge and I though ah heck, why not throw them in anyway because I love the contrast of bittersweet chocolate and creamy sweet white chocolate. So the batter was made, scraped into a pan and baked. When the brownie came out of the oven, it was a bit too thick for my liking. I didn't want a repeat of a skewed ratio of thing-that-sandwiches-the-ice-cream to ice cream again (I mean, it isn't the end of the world but for a comfortable eating experience...), so I opted to change my idea of an ice cream sandwich to an ice cream bar, because that way the ratio of brownie to ice cream would be a balanced 1:1, thereabouts.


And then I thought again. Since I was making ice cream bars, which lend themselves so much more easily to creative layering of flavours and ingredients than sandwiches (okay maybe that isn't true but that was how my mind worked at that moment), I thought it would be such a waste to not add in more stuff to the construction of the bars. What would go nicely with chocolate, chocolate and white chocolate?

Berries.

I knew I had a jar of mixed berry jam so conveniently available so I grabbed that and spread a thin layer on the cooled slab of brownie. Once that was done, I spread a generous amount of chocolate ice cream on top of the jam. And for good measure, pressed a few marshmallows on top of the ice cream.

That's not all of course- you should have noticed that the m&ms are missing. I topped the ice cream bars off with them at the last moment, because I know that they bleed when they come into contact with moisture. Why then, you ask, do I do that when the m&ms aren't exactly integral to composition of the dessert? I would say, why not? And because they're blue and they represent the mixed berry jam hidden in between the chocolate and chocolate.


The ice cream bars are not extremely pretty, I admit, so I didn't quite know how to take good pictures of these. I had to work quickly to keep the ice cream from melting all over the place so I decided to just snap randomly and hopefully the pictures come out decent. I hope these were okay to look at.

Looks are one thing, taste is another. I have a few comments about these bars so I'll list them in point form for easier reading:
1. I love the marshmallows in these! Awesome pairing of textures.
2. These are quite sweet overall especially because of the jam so it's best if you use an ice cream that is mildly sweet.
3. A chewy brownie vs a fudgy one (this recipe) would probably fare better because fudgy brownies do get quite hard when cold.
4. Don't restrict yourself to m&ms! I bet a sweet-salty candy would do great with these bars. Hmm... Reese's? Butterfingers?

Lastly, I know I've not been updating this blog as regularly as before but I hope you will stay with me! Life has gotten really busy but I always make time for baking. For sugar is essential to my overall mental well-being.

(It's true, honest.)


White Chocolate Chip Brownie + Mixed Berry Jam + Chocolate Ice Cream Bars
makes a 8 x 5 inch slab's worth

For the brownie:
Make a third of the recipe here, replacing the nuts with white chocolate chips as I did and baking the brownie in a 8 x 5 inch pan for 13 minutes. Let the brownie cool to room temperature before assembling. You can chill it in the fridge or freezer to speed up the cooling process.

For assembly:
Mixed berry jam, or blueberry or strawberry
About 1 1/2 cups chocolate ice cream, softened until spreadable
A handful of marshmallows
M&Ms, as many as you want really

Proceed with the cooled brownie still in the pan. Spread a thin layer of jam on top of the brownie. Spread the ice cream on top of the jam. Dot the surface with marshmallows and freeze the whole thing until completely firm, at least 2 hours. Slice into modest-sized bars and place them back into the freezer until you are ready to eat. Before serving, shower with m&ms.

Thursday, August 22, 2013

ice cream sandwiches.


Excited! My first ice cream sandwiches ever! Well okay I did grow up on those frozen blocks of ice cream slapped in between two pieces of wafers or a folded slice of colorful bread but those nearly aren't as decadent as the American kind. It's not easy to find them in Singapore. Or at least, I've not been able to find many places selling them. I do know that Ben & Jerry's has the chipwich though, but it's kind of expensive so I've not tried it.

But I digress.


I made a batch of these chocolate chip cookies sans walnuts and bought a tub of ice cream from the supermarket, put them together and hey presto- my homemade ice cream sandwiches! After assembling the sandwiches I actually stored them in the freezer for a day and I was worried that the cookies would be too hard to eat but I was wrong. The cookies were a little crispy around the edges but the centre was the consistency of chilled cookie dough because I'd underbaked them slightly. Perfection in a cookie.


I love these ice cream sandwiches but the only grouse I have, dare I say it, is that they're too filling. Two cookies and a giant scoop of ice cream really pushed the limits of my stomach space especially after dinner. Yet, the smaller you make those cookies, the more skewed the cookie to ice cream ratio. Personally I would like enough ice cream to go with my cookies and small ice cream sandwiches just won't fulfill the criteria.


Making these is insanely fun. I'm going to try sandwiching the ice cream with brownies instead next time! After all, I do have extra ice cream in the fridge.


And can I say how photogenic these sandwiches are? They're so beautiful. Oh no I'm losing it- I'm delirious with happiness!

Saturday, August 17, 2013

caramel almond cake.


"Absence makes the heart grow fonder." There's no denying it. It has been an incredibly stressful week and I've been yearning to just dig in to a huge pile of desserts and sugarcoat the stress. This morning I got up and headed straight for the kitchen. The girl needs her cake, and she's gonna get some. Thankfully, I had none of the baking mishaps that usually happen when I bake as soon as I awake, and I had this wonderful looking and smelling cake cooling on the baking rack in two hours or so.


When I finally got to cut a slice for myself (a modest one I swear, at least the first one) and swallow the first forkful, I felt like I was suspended in a temporary dimension where all was calm and good- incredibly cliche with "is this heaven?" feeling going on but the truth is the truth. I don't think it's just because I was sorely missing cake that made it taste so good, even if I had been eating cake every single day I would love this to death.


The sponge was so buttery and moist (it looked so moist to the extent that I thought that I had underbaked it), and the caramel topping, oh the caramel topping, it tasted like caramel popcorn, sans the popcorn of course. It was buttery, caramelly and sweet with a hint of saltiness; the topmost layer of almond flakes was crunchy and toasty; and some of the caramelly goodness seeped into the top half of the sponge itself. Oh yes and I must mention that the caramel has coffee in it. Caramel and coffee is the. best. combination. ever. Guys, it is one of the best cakes I've made and eaten this year. And I'm bolding this for effect, yes.

I ate a third of this cake, just saying. Okay fine it was a 6 inch cake but still.


Toscakaka (Caramel Almond Cake)
adapted from here
makes a 9 inch cake

For the cake:
75ml milk
75g unsalted butter, melted and cooled
3 eggs
150g sugar
1 tsp vanilla extract
150g plain flour
1 tsp baking powder
1/4 tsp salt

For the topping:
150g flaked almonds, toasted and cooled
125g butter
125g light brown sugar
50g milk
1/2 tsp salt
1/2 tsp espresso powder (or 1 tsp, for a stronger coffee flavour)

Preheat oven to 325F. Prepare a deep 9 inch round cake pan.

Whisk the eggs, sugar and vanilla until pale and thick. Meanwhile, sieve the flour, baking powder and salt together.

Sieve 1/3 of the flour mixture over the egg mixture, fold in gently. Fold in half the milk until incorporated. Repeat with half of the remaining flour mixture, the rest of the milk and the last of the flour mixture. Finally, drizzle in half of the melted butter, fold, the fold in the remaining butter.

Pour batter into prepared pan and bake for 25 to 30 minutes or until golden and set. When 15 minutes have passed, make the topping.

Combine the almond flakes, butter, brown sugar, milk, salt and espresso powder in a saucepan. Heat until the mixture bubbles and thickens slightly.

Remove the cake from the oven; turn the temperature up to 400F. Pour the topping evenly over the cake and return the cake to the oven and bake for 8 to 10 minutes until the glaze is dark brown and bubbly. Cool for a few minutes in the pan before loosening the sides with a knife and placing the unmolded cake onto a wire rack to cool completely.

Saturday, August 10, 2013

banana in a blanket.


I don't know what is it with me and swiss rolls- I just can't get perfectly cylindrically-shaped ones; every time I make one it turns out looking like a flatten misshaped bolster. I didn't quite feel like being all c'est la vie today so I tried to pretty the swiss roll up with a little whipped cream and sprinkle magic. It worked... maybe. I posted a filtered picture of it on instagram, but I don't think even the filter can disguise its ugliness. Ugh.


But anyway, I'm glad to report that it tastes great! Yeah yeah cue the ugly is beautiful whatnot. The filling is a bit too fluid which made certain parts of the cake soggy (but in a good way). I think I added too much mashed banana because I actually divided the filling quantity and ended up having not to use a whole banana but I figured ah heck, let's just throw it  in and so...


It's precisely because the filling was too fluid when I made it that actually caused the swiss roll to turn out looking like the flat log it is. If you follow the recipe properly (unlike me) you shouldn't have a problem with overly oozy filling. I also recommend that you chill the filling before spreading it on the cake if it's too soft upon just making it. It'll make rolling a whole lot easier, trust me!


Banana in a Blanket
adapted from Baked Explorations

For the cake:
1/4 cup all-purpose flour
3 tbsp unsweetened cocoa powder
1/4 tsp salt
5 large eggs, separated
1 tsp vanilla extract
1/2 tsp cream of tartar
1/2 cup sugar
2 tbsp icing sugar, divided (or you could use cocoa powder as well)

For the filling:
4 1/2 ounces dark chocolate, melted and cooled
4 medium-sized ripe bananas, peeled and divided
1 cup heavy cream
2 tbsp sugar
1/2 cup coarsely chopped walnuts, toasted and cooled

Bake the cake: Preheat oven to 325F. Line a 10 x 15 inch pan.

Sift the flour, cocoa powder and salt thrice.

Whisk the egg yolks and vanilla until thick and pale yellow.

Whisk the egg whites and cream of tartar until soft peaks just begin to form. Slowly beat in the sugar while still whisking, until the whites are glossy and stiff.

Fold a third of the beaten egg whites into the yolk mixture. Fold half of the sifted flour mixture into the egg mixture, then gently fold in half of the remaining egg whites. Fold in the remaining flour mixture followed by the remaining egg whites.

Pour the batter into the prepared pan and bake for 20 to 25 minutes or until an inserted skewer comes out clean.

Transfer the pan to a cooling rack, cover the cake with a few damp paper towels and cool for 10 minutes. Remove paper towels and sift a tablespoon of icing sugar over the cake then invert the cake onto a surface with a towel. Remove the parchment paper and sift the remaining tablespoon of icing sugar over the surface of the cake. Starting from the short end of the cake, roll the cake up and let the cake cool completely in its toweled rolled state.

Make the filling: Wrap 2 bananas in aluminum foil and place in the freezer while you prepare the whipped cream. Slice remaining bananas into a microwave-safe bowl and microwave on high for 30 seconds. Remove bowl from microwave and mash bananas completely. Set aside to cool.

Whisk the cream vigorously for 1 minute. Sprinkle the sugar over the cream and continue beating until soft peaks form. Fold half of the whipped cream into the melted chocolate until almost combined. Add the remaining cream and fold until uniform in colour. Stir in the mashed bananas.

Assemble the cake: Unroll the cake, spread filling in an even layer over the cake. Sprinkle toasted walnuts over filling. Remove bananas from the freezer and place them end to end at one short end of the cake, cutting to fit if they are too long. Roll the cake up from the banana end. Refrigerate cake for at least an hour before serving.

Friday, August 9, 2013

white chocolate and macadamia dark chocolate cookies.


For someone born in the era of technology, I am ridiculously inept at dealing with all things related computers and the internet. This morning, I tried to give this blog a new look, adding headers and backgrounds and such, but I just couldn't customize them to fit properly. So after 2 hours of frustrated clicking and at least ten google searches that included stuff like "how to center blog header", I threw in the towel and reverted back to the basic template. Yes. Back to square one. (Computer geeks have always had my utmost respect, by the way.)

It was a harrowing stressful experience. And therefore I needed cookies.


I decided that I would make white chocolate and macadamia cookies again, but because I dislike repetition, I based them on a chocolate cookie dough this time, courtesy of Sally's Baking Addiction. Their claim to fame is being soft, thick and chewy; well I can back up the first two, but chewy- that's debatable. The dough is full of dark chocolate flavour and the white chocolate chips contrasts nicely against it in terms of flavour and appearance.


It's quite a good cookie. If only I had toasted those macadamia nuts in browned butter like last time...


And I made a giant one for myself. Baker's perks.


White Chocolate and Macadamia Dark Chocolate Cookies
makes 16
adapted from here

1 stick butter
1/2 cup sugar
1/2 cup brown sugar
1 large egg
1 tsp vanilla extract
1 cup all-purpose flour
1/2 cup + 2 tbsp unsweetened cocoa powder
1 tsp baking soda
1/8 tsp salt
2 tbsp milk
1/2 cup white chocolate chips
1/2 cup coarsely chopped macadamias

Cream the butter and sugars until light and fluffy. Beat in the egg and vanilla.

Whisk the flour, cocoa powder, baking soda and salt together. Stir flour mixture into butter mixture. Stir in milk. Fold in white chocolate chips and macadamias. Chill dough for at least 2 hours.

Preheat oven to 350F. Prepare baking sheets.

Take 2 tbsp of chilled dough, roll into a ball and place on baking sheet. Bake for 12 minutes. Cool on baking sheet for at least 5 minutes before transferring to a wire rack to cool completely.

Sunday, August 4, 2013

kuromitsu castella cake.


Whoops, a baking flop. Haven't had one in a while! I didn't whisk the eggs long enough so the cake ended up sunken in the middle. Oh well. But it still tasted great, most importantly, even though the texture isn't what it's supposed to be.

The cake is like chiffon-cake-moist, and it isn't terribly sweet. It has a unique depth of flavour because of the kuromitsu (which is a Japanese dark brown sugar syrup similar to molasses by the way). The glaze applied to the surface cake would be of great relief to you if you aren't accustomed to modestly sweetened desserts.


I didn't expect for such a small amount of kuromitsu to go such a long way! Which is great because the small squeeze bottle of it I got was considerably pricey. I wonder what else I should make with it.


Kuromitsu Castella Cake
adapted from here

Castella cakes are traditionally made with honey. If you cannot find kuromitsu, which is highly understandable, just substitute the same amount of honey for the kuromitsu in the recipe.

2 large eggs
75g sugar, plus extra for sprinkling
50g flour, sifted twice
25ml milk
1 tbsp + 1 tsp kuromitsu, divided

Preheat oven to 170C. Line a 8 x 5 inch (or thereabouts) loaf pan with parchment. Sprinkle a little sugar over the bottom.

In the bowl of a standmixer over a pot of simmering water, whisk the eggs and sugar together until the sugar has dissolved and the mixture is warm to touch. Reattach bowl to mixer and whisk until the batter is thick enough to form soft peaks.

Meanwhile, warm the milk and 1 tbsp kuromitsu together. Stir to combine.

Whisk the milk mixture into the egg mixture. Stir in sifted flour until just incorporated.

Scrape batter into pan and bake for about 30 minutes or until an inserted skewer comes out clean.

While the cake is baking, stir the 1 tsp of kuromitsu syrup and a little hot water to combine. When the cake comes out of the oven, brush the top of the cake with the sugar mixture.

When the cake is cool enough to handle but still warm, lift it out of the pan paper and all, and seal in an airtight bag. Place the bag into the refrigerator overnight. (This traps the moisture in and keeps the cake from drying out.) Trim the edges of the cake and slice to serve.