I've Moved!

Tuesday, April 29, 2014

espresso walnut shortbread cookies.


I love Instagram. I really do. Part of the reason why I'm so addicted to it is because of the ease by which I can upload and share photos. There's no need to get out my DSLR, transfer the photos to my computer, upload them to Photobucket, edit them then post them on this blog in order for people to see. This convenience, however, has been turning on me recently. Sometimes I nearly forget that I have to take pictures for this blog, which I do with my DSLR. For most of my Instagram photos I simply use my iPad, and I think it greatly suffices for that avenue.

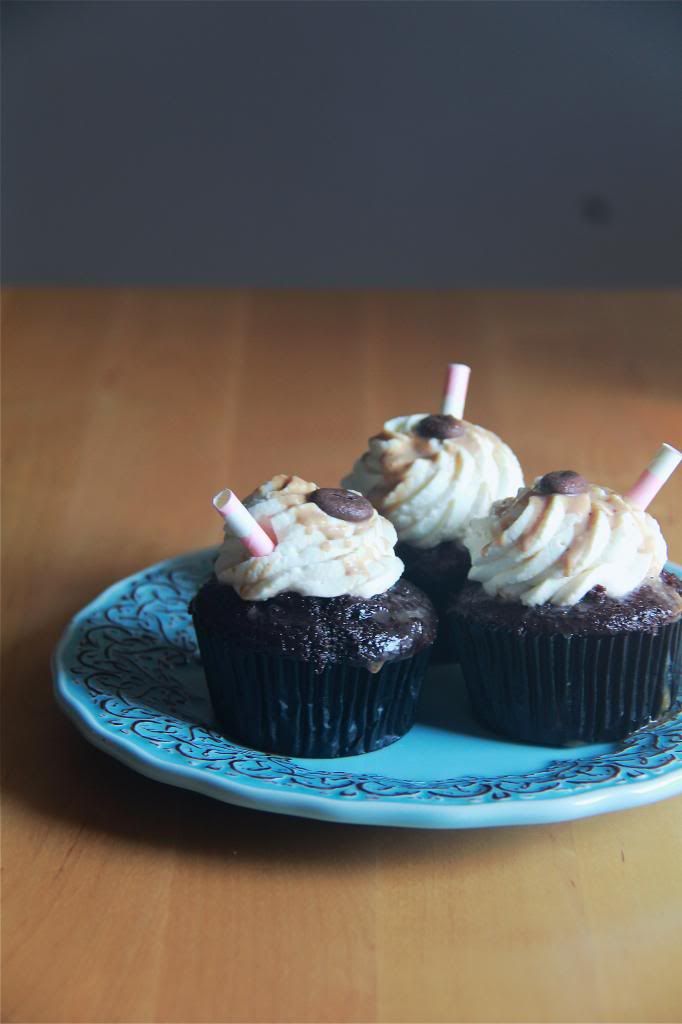
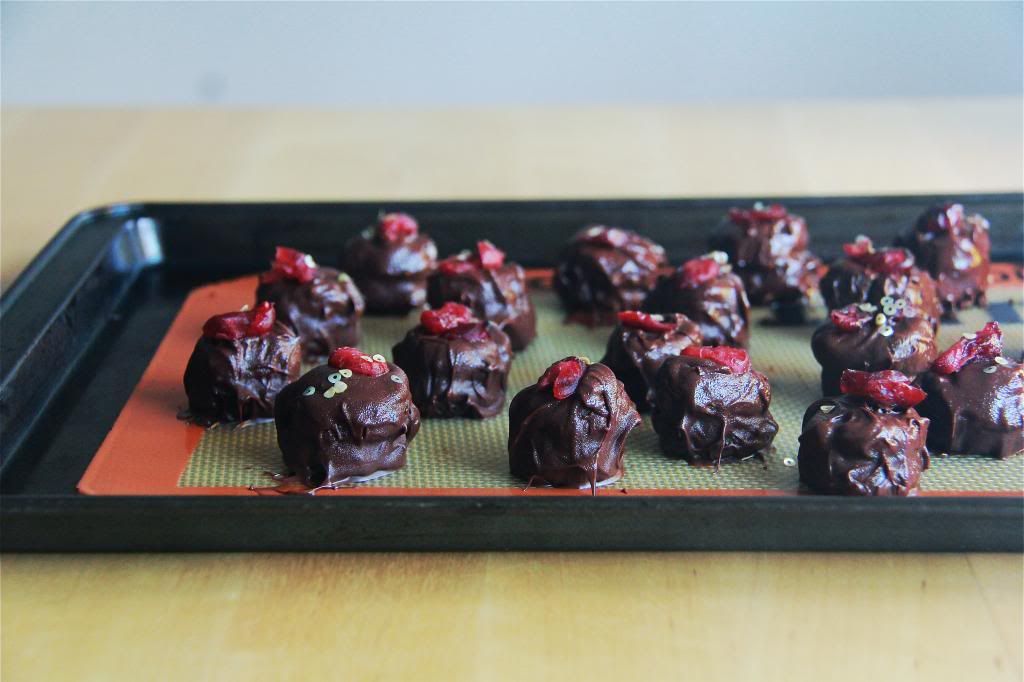
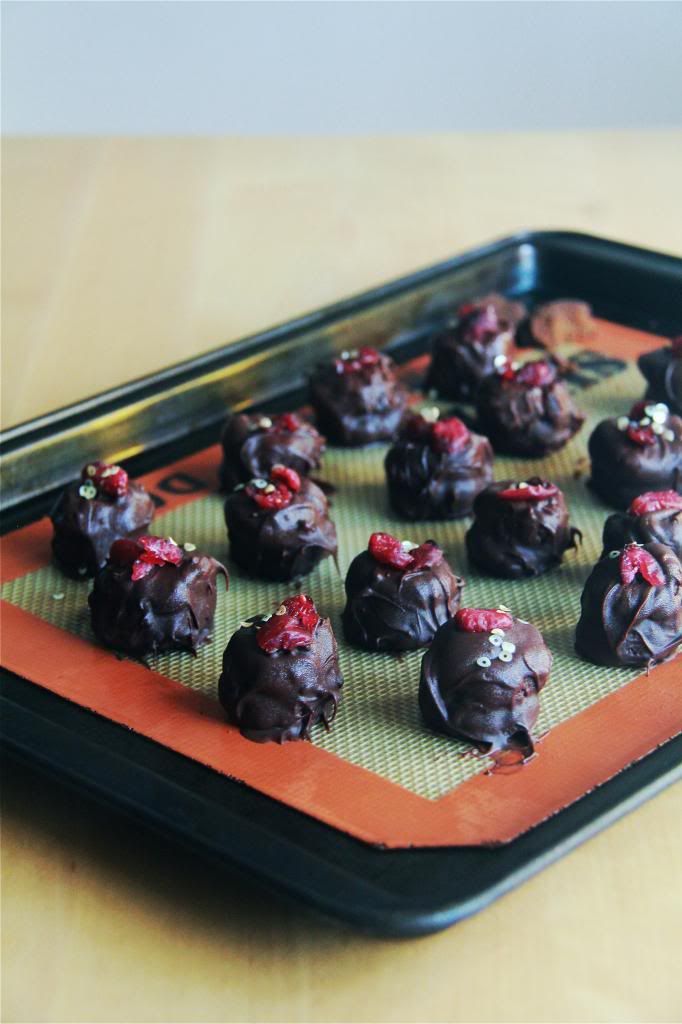
You may notice a difference in today's photos - that's because they are taken with my iPad. It was only after I'd taken my last photo with the aforementioned technology and packed the cookies away safely in their container - and out of sight for good measure - that I remembered that I had yet to do the same with my DSLR. In the past I'd nearly forgotten, today I truly and regrettably did. But not wanting to go through all that trouble of setting up the table and all again, I decided to try using the photos I already had, just this once (don't berate me please).

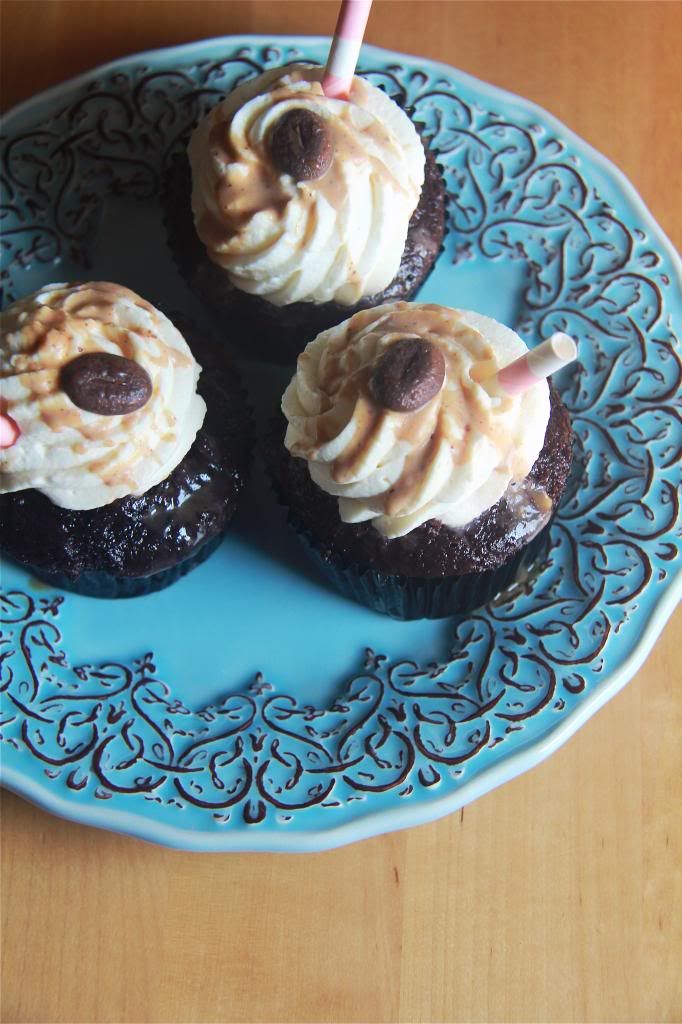
As I was editing the pictures on my computer I noticed that they simply just did not look as good here as they did on the smaller screen of my iPad. It could be because I'd viewed the pictures taken with my DSLR together with these, making the contrast all too apparent, but ultimately the reason why the DSLR is such a coveted tool cannot be denied. I admit that it broke my heart a little because this is the first time ever since I'd gotten my DSLR back in May 2011 that I did not used my camera for a blog post.

At the very least, this experience has taught me that the every extra effort put in from using a proper camera is reflected in the final photo. It has also reminded me of how much joy I derive from it despite the hassle.


Speaking of joy, it's been a while since I felt the exhilaration of baking cookies since I always bake cakes and cupcakes. This time it wasn't a conscious decision like I've not baked cookies in the past 278 days so I have to make some to break the monotony but a real sincere desire to bake cookies. I really need more moments like these because I often underestimate the appeal of something simple, small and satisfying to nibble on through the horrendously stressful school week. (Usually I go cake crazy as a treat at some point during the week.)

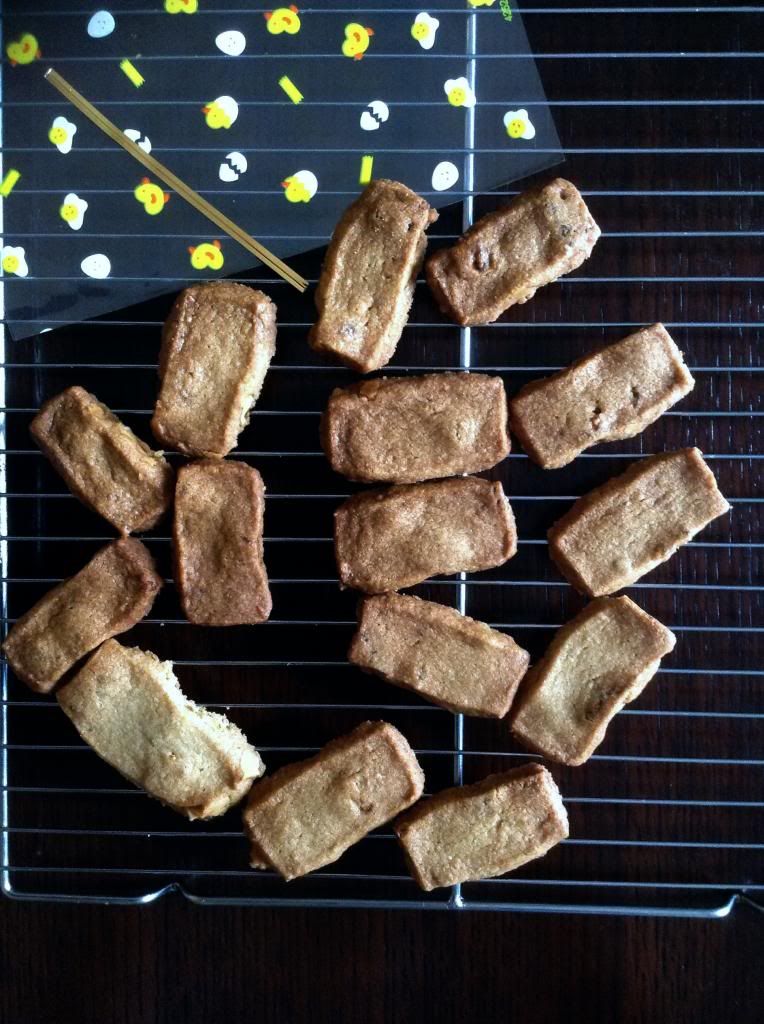
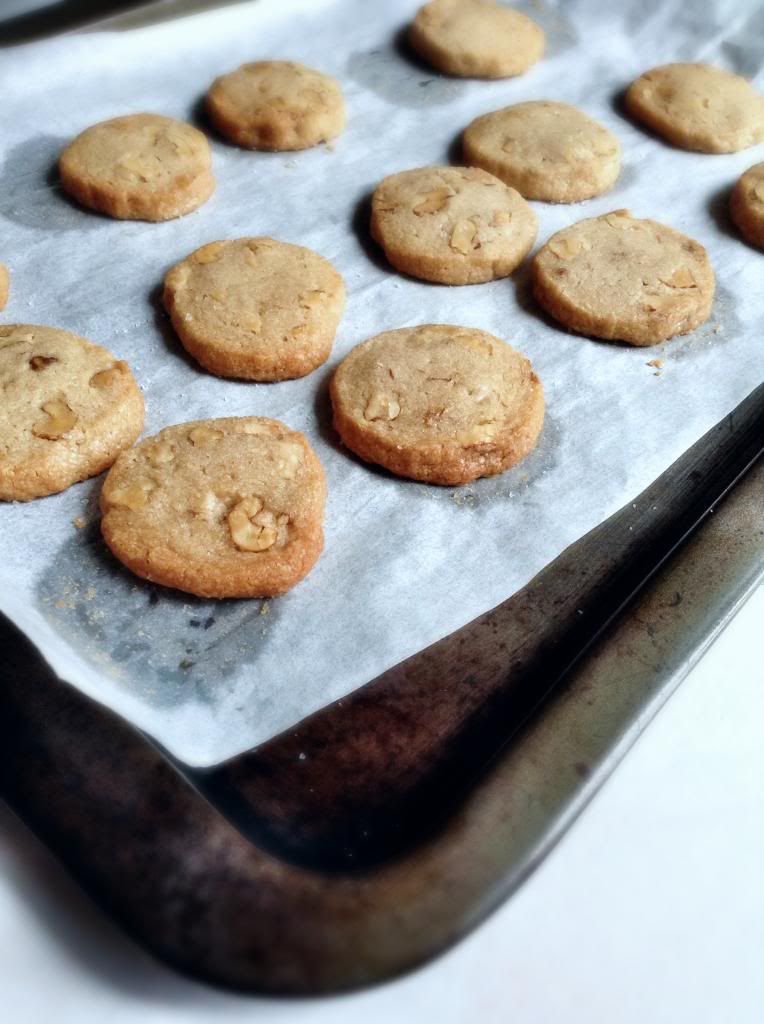
These cookies have the faint aroma of coffee that pairs well with the nuttiness of the walnuts, and if you ever have the slightest inclination to, I strongly suggest that you add in some chocolate as well. I was trying to be virtuous and do away with the chocolate this time since I seem to almost always bake something containing chocolate but I have to say that I feel a tiny tinge of regret for not doing so. Chocolate or none though, these are cookies that will have you hugging the cookie jar tightly to your chest and never letting go.


Espresso Walnut Shortbread Cookies
makes 42 cookies

1 cup butter
1/3 cup sugar
1/3 cup brown sugar
1/2 tsp vanilla extract
2 tsp coffee extract
2 cups all-purpose flour
1 cup toasted chopped walnuts
mini chocolate chips, optional

Beat the butter and sugars together until smooth. Beat in the vanilla and coffee extracts, then add the flour, mixing only until it disappears into the dough. Stir in the walnuts and chocolate chips, if using.

Transfer the soft, sticky dough to a gallon-size zipper-lock plastic bag. Put the bag on a flat surface, leaving the top open, and roll the dough into a 9 x 10 1/2 inch rectangle that's 1/4 inch thick. As you roll, turn the bag occasionally and lift the plastic from the dough so that it doesn't cause creases. When you get the right size and thickness, seal the bag, pressing out as much air as possible, and refrigerate the dough for at least 2 hours, or for up to 2 days.

Preheat oven to 325F. Prepare baking sheets.

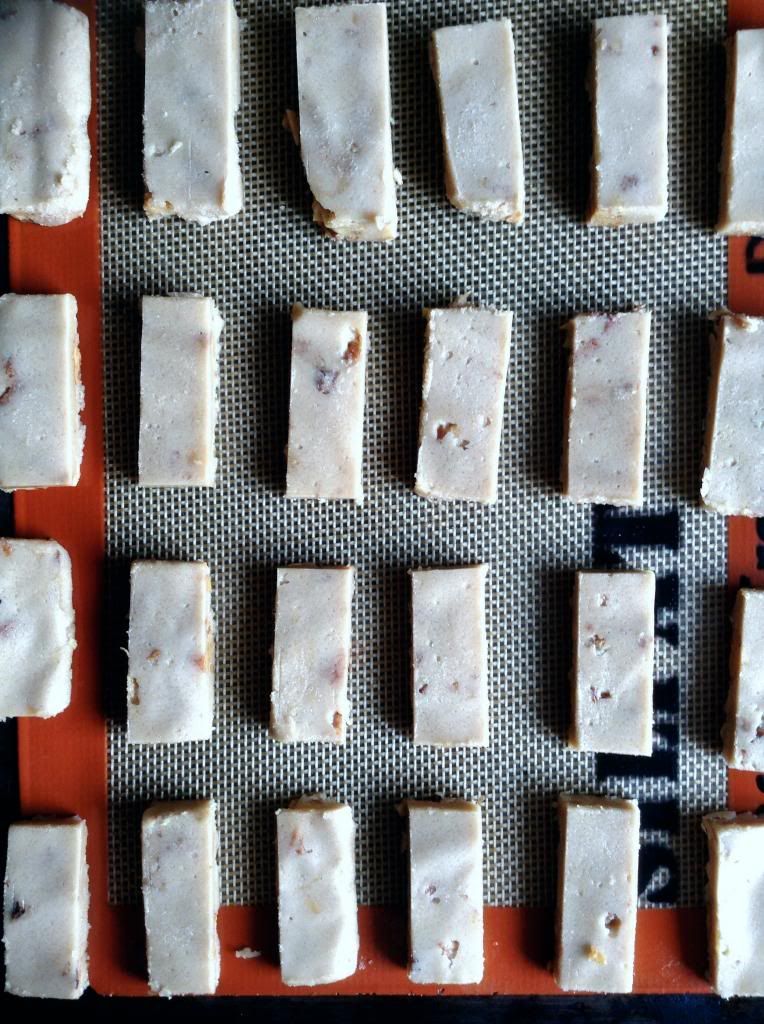
Put the plastic bag on a cutting board and slit it open. Turn the firm dough out onto the board (discard the bag) and, using a ruler as a guide and a sharp knife, cut the dough into 1 1/2 inch squares. Transfer the squares to the baking sheets and carefully prick each one twice with a fork.

Bake for about 16 minutes. Try not to let the shortbreads color too much.

Saturday, April 26, 2014

salted caramel mocha cupcakes.


Truth be told, I wanted to make salted caramel mocha cookie crumble cupcakes. A while back I saw many starbucks-inspired cupcakes like, of course, salted caramel mocha, caramel macchiato, pumpkin spice latte and the ilk and I thought that those were fantastic ideas, especially with the iconic green straw poking out at the sides at an angle. But as usual, my inner rebel wanted to do something a little different. My idea would have to retain the essence of the Starbucks element though, so I couldn't stray too far. In short, it would have to be different, but similar. Or perhaps it should be worded as similar and different, because similar means still having some minor differences. But then the "different" would be redundant. Welps anyway moving on...


At some point two drinks offered at Starbucks came to mind - salted caramel mocha and mocha cookie crumble. The first thing I noticed was that both had "mocha" in common. Joined together it became salted caramel mocha cookie crumble, quite the mouthful indeed. I admit, the name inspired the cupcake instead of the other way round. It sounded so extravagant and decadent that I couldn't wait to make these cupcakes, but in the end the idea couldn't come into fruition because I realised that it wasn't quite feasible.


The cupcakes simply did not have enough surface area for me to incorporate all the elements. The "mocha" was easy - the mocha cake base would take care of that. I knew that I absolutely had to drizzle the salted caramel sauce over the piped whipped cream for the sake of visuals. But I couldn't just have that small amount of salted caramel constitute the salted caramel component of the cupcakes, that wouldn't be outstanding enough. I figured that I had two alternatives - incorporate the salted caramel by hollowing out the centre of the cupcakes and filling the empty spaces with the sauce, or stab the cupcakes to death with a fork and pump the cupcakes full of salted caramel.


To help me decide which way I should use the salted caramel, I then considered how I intended to introduce the cookie crumble portion. Again, sprinkling some over the frosting wouldn't suffice; I had to incorporate that in another way as well. I was faced with two options, which were to put some on top of the cupcakes before piping the whipped cream on or bake some into the cupcakes. If I were to go with the latter option, that would mean that I couldn't go with alternative number two for the salted caramel because I was afraid that too many flavours would clash. Pairing both option ones for the salted caramel and cookie crumble seems like a logical decision, but the thought that the cookies might soften and become soggy underneath that mound of whipped cream conveniently came to me suddenly. So I scrapped the cookie crumble idea. After all that trouble. Yes.


Well there you have it, a sneak peek into my mind whenever I try to come up with something. I don't blame you if you couldn't quite follow. Sometimes even I myself can't keep up with what I'm thinking about! But if there's something that you can and must understand, it is that these cupcakes are delicious. They're incredibly moist and rich, the kind of cupcake that disappears in seven seconds.


Salted Caramel Mocha Cupcakes
makes 12

For the cupcakes, follow half of this recipe except using 1/2 tsp of coffee extract instead of vanilla

For the salted caramel sauce:
1 cup sugar
6 tbsp butter
1/2 cup heavy cream
1 tsp salt

For assembly:
1 cup heavy cream
3 tbsp icing sugar, sifted
salted caramel sauce, warmed until spoonable
chocolate streusel

Make the salted caramel sauce: Heat the sugar in a medium saucepan over medium heat until it turns a deep amber shade. Remove from heat immediately and stir in the butter. Drizzle in the heavy cream carefully and stir until combined. Return to heat, stirring constantly until the caramel is smooth and void of clumps. Remove from heat again and stir in the salt. Cool completely before using.

Assemble the cupcakes: Whip the heavy cream and sugar to stiff peaks. Transfer to a piping bag with a large star tip.

Using a toothpick or something similar, poke multiple holes into the cupcakes. Spoon over the warmed salted caramel sauce. Be careful not to use too much. The idea is to let the caramel permeate the entire insides of the cupcakes.

Place a bit of the chocolate streusel on each of the surfaces of the cupcakes. Pipe the whipped cream on top. Drizzle over the caramel sauce and top with a bit more streusel. Stick a straw into each of the cupcakes at an angle, if you have some.

Saturday, April 19, 2014

cinnamon butter cookies.


Just a quick post today! I made these as part of a gift box a while back and I thought that it was about time that I posted the recipe. I was initially worried that I piped the dough a little too thinly but I think that the cookies turned out nice and crisp, shattering gently in your mouth as you bite into one while the warm fragrance of cinnamon tantalises your tastebuds. A keeper of a recipe!


Cinnamon Butter Cookies
makes about 32
adapted from Baked Explorations

2 cups plain flour
1 tsp ground cinnamon
1/4 tsp salt
1 cup butter
3/4 cup sugar
1 large egg

Prepare baking sheets.

Whisk the flour, cinnamon and salt together.

Beat the butter and sugar together until light and fluffy. Add in the egg and mix until combined. Add half the flour mixture and beat until just incorporated. Add in the remaining flour mixture and beat again until the traces of flour disappear.

Scrape the dough into a piping bag fitted with a star tip and pipe it onto the baking sheets. Chill the cookies on the baking sheets in the refrigerator for about 30 minutes. Meanwhile, preheat the oven to 350F.

Bake cookies for about 12 to 14 minutes or until the edges are golden brown.

Friday, April 11, 2014

chocolate brick cake.


Lately it seems like everything has been going wrong. I emerge from a struggle, mostly not victorious, only to plunge headfirst into yet another one. It's almost as if I'm swimming an inelegant butterfly stroke in a rowdy sea of problems. I dive into the water and emerge moments later only to be dragged by the ankles underwater again by invisible hands. My arms ache so much from trying to resist; it's tremendously tiring. I can hear the cries of encouragement from the direction of dry land but you know, when you sink too deep you can't hear them anymore.


Instead all I can hear is sea of dark silence, waters surrounding and pressing urgently against my ears. But it's calming, strangely. I find solace in this newfound environment, in fact I don't want to leave it. The thought of being rescued only to risk the possibility of drowning yet again is so repelling I give up moving so as to sink even deeper into the throes of this welcoming blackness. I would even swim further towards the bottom, if I wasn't already there.

But as much as I want to integrate into this nothingness, I know it's not my place. At some point I would need to go up for oxygen and face the light of reality. As it is right now though, it's a long journey up. I will break the water surface eventually, but for now, where I am now is where I need to be.


If you were wondering how the above is in any way related to this cake, it's because this cake here didn't quite turn out the way I envisaged it. The glaze turned out drippier than I expected and the chocolate chips couldn't obediently stick to the sides, instead sliding down and piling into an unglamorous heap at the bottom. To make matters worse I was short of one chocolate "brick" so it detracted from the overall appearance of the cake as well. I believe my brother has something to do with it.

No it's not a tragedy, I agree. Compared to some of my creations in the past this problem isn't grave enough to warrant wallowing in depression. It's just that after the series of failures recently I hoped to seek comfort something in the one thing I do best. But I guess this plan didn't work out.

If I were to do it all over again I would choose to use a ganache instead of a glaze. But I don't plan on editing the following recipe, if you could call it one. I made the mistake of using a glaze, so I shall reflect it as such. Sometimes I feel that I need to learn how to just accept mistakes squarely in the eye, recognize them and move on.


Chocolate Brick Cake

This "recipe" is more of an idea than a recipe per se so the quantities of the components reflected are arbitrary. I advise you to exercise your own judgement to determine how much glaze you need. (Although I recommend that you use a ganache recipe.)

chocolate cake recipe (my favorite) here

For the chocolate glaze:
9 ounces milk or dark chocolate, chopped
1 cup heavy cream

For decorating:
mini Nestle crunch bars

Bake the cake in a loaf pan and let it cool completely before frosting and decorating.

Make the chocolate glaze: Bring the cream to a simmer in a saucepan and pour over the chopped chocolate. Let the mixture stand for 3 minutes before stirring to combine. Cool completely before using. Refrigerate to thicken if needed.

Decorate the cake: Glaze the outside of the cake. Line the sides of the cake with the chocolate bars regularly to resemble a brick wall. Drizzle more glaze on top of the cake if desired.

Refrigerate cake for at least 3 hours for the glaze to firm up.

Thursday, April 10, 2014

chocolate cranberry pistachio cookies.


It took me a while to decide on what to bake yesterday. I needed something portable, something that could withstand the ghastly heat of the sun these days, as well as something that is elegant and presentable. I immediately thought of brownies or cookies, but I didn't have any interesting brownie recipes to try out so I went with the latter. Granted these don't fulfill the criterion of keeping well under hot weather because of the chocolate coating but at least they were suitable enough to give away as a present. I'm just hoping that they would be consumed before the chocolate melts.


Out of all the cookie recipes I had bookmarked I went with this one because I was up for a challenge. It's extremely rare that I have the will or energy to make something that has many components lately so I took advantage of the mood I was in yesterday. I was reminded again that as laborious as multi-component recipes are, the end results are always worth it, taste as well as presentation-wise. Well, usually.


My pistachio paste turned out unexpectedly brown, so much so that the finished cookies resembled chocolate ones. But of course, they tasted distinctively of fragrant roasted pistachios. Perhaps I'd overbaked them a little bit but I found that they were a tad too crunchy. Maybe it's better that you don't let them brown too much.


Assembling these cookies was particularly fun. You can check out the behind-the-scenes video here. I'm definitely up for another of such a project soon.


Chocolate Cranberry Pistachio Cookies
cookie portion adapted from here
makes 20

For the cookies:
4 ounces shelled toasted pistachios (about 1 cup), ground to a paste in a food processor
1/4 cup sugar
1 large egg white
1/8 tsp vanilla extract
pinch of salt

For assembly:
melted dark or milk chocolate
dried cranberries

Make the cookies: Preheat oven to 350F. Prepare baking sheets.

Beat the pistachio paste and sugar together until smooth. Mix in the egg white, vanilla and salt.

Transfer dough to a pastry bag fitted with a 1/4 inch plain round tip and pipe 1 inch rounds onto the baking sheet, spacing the cookies about 1 inch apart.

Bake for about 8 minutes, until the cookies are firm and golden around the edges. Transfer to a wire rack to cool completely.

Assemble the cookies: Sandwich a dollop of chocolate in between two cookies then cover with chocolate entirely. Stud the top with a cranberry. Repeat for the rest of the cookies.

Refrigerate for at least 1 hour for the chocolate to firm up before consuming.