I've Moved!

Saturday, August 13, 2011

cereal milk.


Remember those honey stars treats that I made that didn't quite sit so well with me? I didn't want them to go to waste so I came up with this idea to heat up some milk and pour it into a glass with the treats. I've never really liked milk on its own (an understatement, actually), but I've always lapped up the remains from a cereal bowl. Basically, I figured that I like sweet milk. Amongst sweet cookies and sweet cakes and sweet tarts... And you know what?

I loved this. 

The cereal sacrificed itself fully for the milk and became limp and soggy, not to mention devoid of flavour, but the milk itself had a subtle sweetness with a thicker consistency because of the starch from the marshmallows and the cereal. I said the cereal was seriously lacking but I ate it anyway. It's not that bad. Has a nice chew.

Okay, so here's how you go about it.

Get a chunk of cereal treats. Honey stars, rice krispies, whatever you have. Just make sure that they're made with marshmallows. Get yourself a glass and dump the treats in. How much milk you will use depends on the size of your treats so please use some common sense. Of course, I won't blame you if you make it super concentrated. Mmm... Then, heat up some milk until it comes to a simmer, pour it into the prepared glass with the treats. Let it cool and refrigerate overnight. It should be ready and cold in the morning but I made mine 24 hours ahead so that I could suck the life out of those treats.

Enjoy!

Thursday, August 11, 2011

baked donuts.


I made donuts today.

Don't look at me like that, they're baked. 

And then doused in butter and cinnamon sugar or dunked in maple-coffee glaze. See? Moderation.


These donuts have been on my to-do list for a very long time and I'm glad to be finally able to cross them off. I didn't have any high expectations of them, which was a good thing or I'll be sorely let down. It's understandable though, that the taste of fried oily goodness is hard to replicate in an oven. Although, I loved making these! They were so fun to cut out into little rings. I quartered the recipe and got 4 medium-sized donuts with 17 donut holes (of which I ate 6 in addition to my regular-sized donut).


To have a resemblance of a true fried donut, nutmeg is the secret. Yes, the recipe called for some, but only a pinch. We definitely need more of it. The nutmeg was barely detectable after baking so the donuts were nothing special, they tasted like just normal lightly sweetened bread dough.

So, to make these a bit more special, I conjured up a maple-coffee glaze. Maple and coffee goes really well together! And this glaze is perfect on the donuts because the dough was hardly sweet. I sacrificed the consistency of the glaze to make it less sweet so you may have to use some dough to mop it up. Not a difficult task, I grant you.


And for the itty bitty donut holes, I dunked them in melted butter and tossed them in cinnamon-nutmeg sugar! The nutmeg really makes a difference, give it a go! The best part about these holes... they baked in 3 minutes. Yep, you heard me. 3 minutes.


Baked Donuts
adapted from 101cookbooks
makes 4 donuts and 17 donut holes

1/3 cup warm milk, 95 to 105 degrees (divided)
1/2 tsp yeast
1/2 tbsp butter, melted
2 tbsp + 2 tsp sugar
1/2 egg
1 1/4 cup all-purpose flour
1/4 tsp ground nutmeg
1/4 tsp fine grain sea salt

Cinnamon-nutmeg sugar coating:
3 tbsp brown sugar
1/2 tsp cinnamon
1/8 tsp nutmeg

1 tbsp butter, melted

Maple-coffee glaze:
1/4 tsp coffee extract
1 tbsp maple syrup
1 1/2 tbsp icing sugar

Place the warm milk and yeast in the bowl of an electric mixer and set aside for 5 minutes or so. Add in the melted butter, sugar, eggs, salt, nutmeg and flour and stir until a rough dough has formed. With the dough hook attachment of your mixer, beat the dough for a few minutes at medium speed, adding flour or milk if need to achieve the right consistency. You want the dough to pull away from the sides of the mixing bowl and eventually become supple and smooth. Turn it out onto a floured counter-top, knead a few times (the dough should be barely sticky), and shape into a ball.

Transfer the dough to a buttered or oiled bowl, put in a warm place and let rise for an hour or until the dough has roughly doubled in sized.

Punch down the dough and roll it out 1/2 inch thick on your floured countertop. Cut out about 3 inch wide circles with a cookie cutter, transfer the circles to your baking sheet then cut out your donut holes with a 1 inch diameter cutter. If you cut the inner holes out any earlier, they become distorted when you attempt to move them. Alternatively, you can use a donut cutter if you have one. Cover with a clean cloth and let rise for another 45 minutes.

Bake in a 375 degree oven until the bottoms are just golden, about 8 minutes. For the donut holes, about 3 minutes. While the donuts are baking, prepare the cinnamon-nutmeg sugar coating by combining the ingredients together in a bowl. Set aside the melted butter in another bowl. For the glaze, just stir everything together, Easy peasy.

Remove donuts from the oven and let cool for just a minute or two. Dip the holes in melted butter and toss in the sugar coating. For the ring donuts, just drizzle the glaze over. Eat immediately! These donuts don't keep too well.

Linked to These Chicks Cooked, Sweet Treats Thursday, Full Plate Thursday, Sweet Tooth Friday, Fat Camp Friday, Sweets for a Saturday, Strut Your Stuff Saturday and Sweet Indulgences Sunday.

Wednesday, August 10, 2011

honey stars treats.


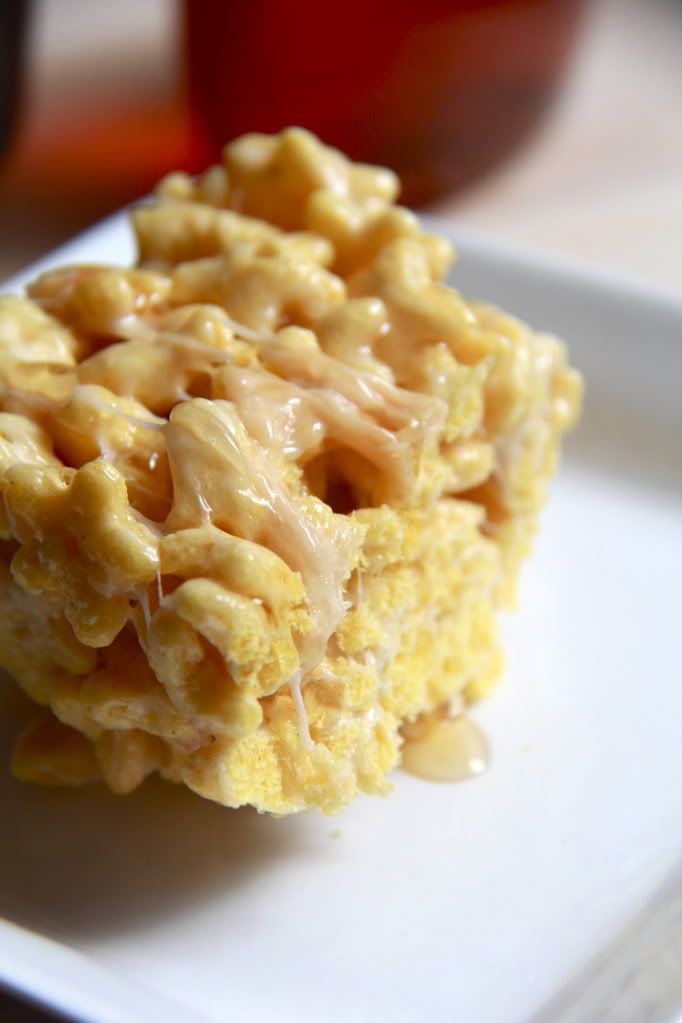
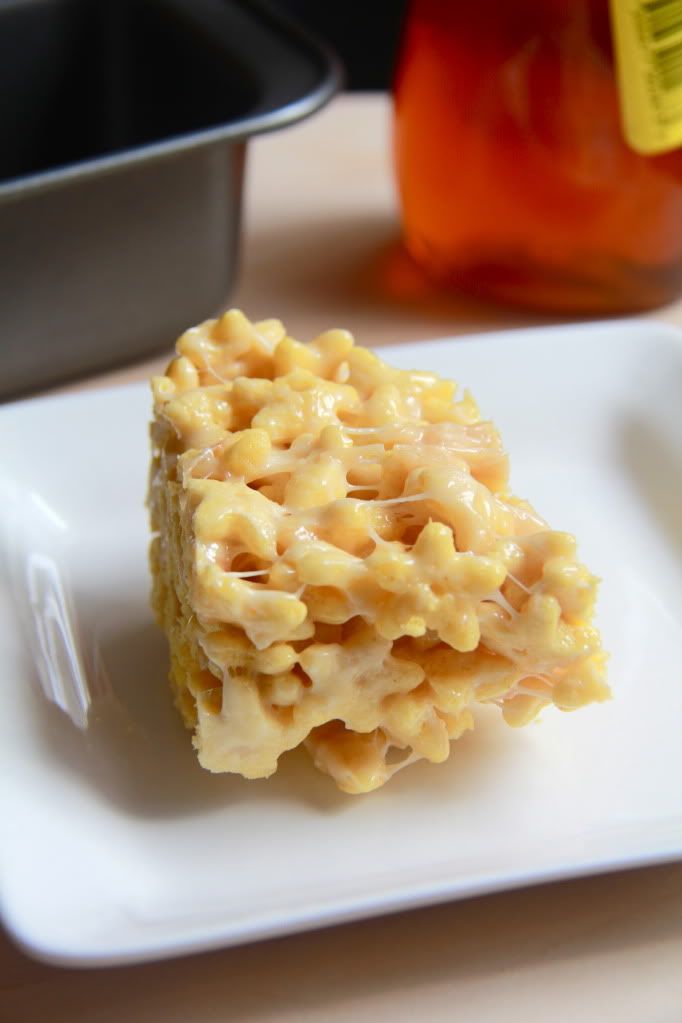
I've never made rice krispie treats before and I'm really curious about them. But, I don't really like rice krispies so hello honey stars treats!

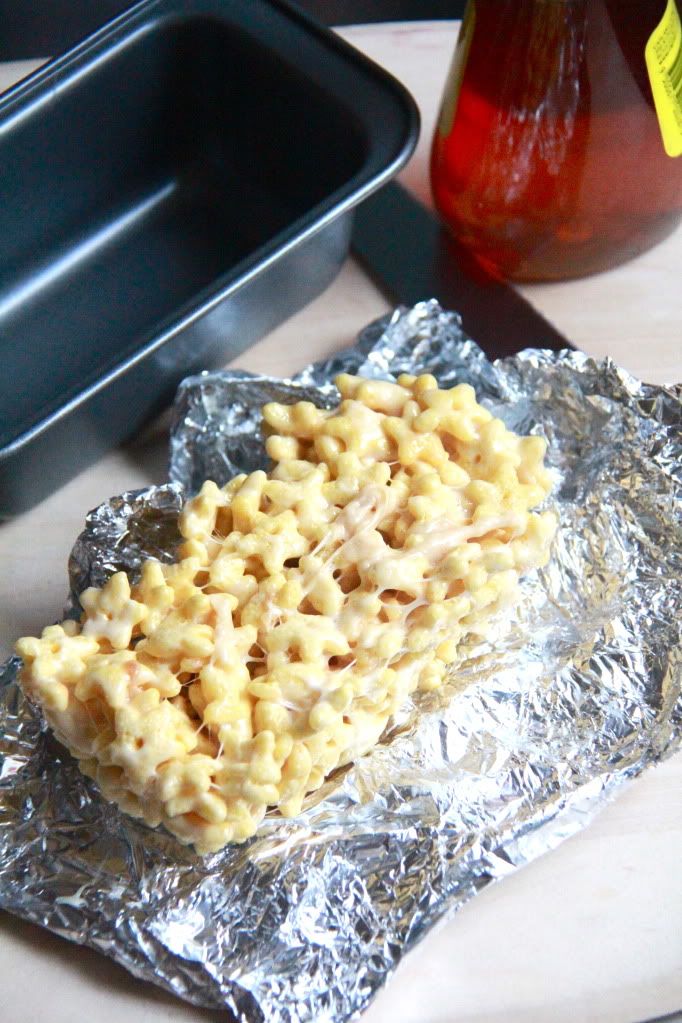
The verdict? I don't know... I guess I'm not exactly loving them. They were way too chewy and because I made them thicker, it was really hard to eat. Probably also because the honey stars were bigger than rice krispies. My jaw got a really good workout.


And these pictures deserve to be in the trash... I couldn't find that right angle...

You can find the recipe for the original rice krispies treats here. I followed it mostly, apart from subbing the rice krispies for honey stars and using a smaller pan for thicker treats.


Tuesday, August 9, 2011

caramel gelato.


I think this is it. The formula to perfectly creamy ice cream without an ice cream maker. I surprised even myself, the texture of this gelato is so smooth it's on par with what I can buy from ice cream shops. The secret?


Milk powder and gelatin together. Both are said to inhibit the formation of ice crystals so I thought, why not use them both? Plus, gelatin makes ice cream more scoop-able when frozen. I didn't have to thaw it to get myself a scoop! Now we're talking instant gratification.

Unfortunately, my gelato still had that melting issue. Although it wasn't so bad this time because I lessened the amount of cornstarch, I'm practically ripping out my hair to solve this problem. Please please please can anyone tell me how to keep ice cream from melting quickly?


I think this caramel gelato is one of the best flavours I've experimented with so far. I cooked it pretty far as you can see from the coffee-brown colour so it's not terribly sweet and extremely flavorful. I topped my scoop off with chocolate-coated coffee beans and toasted pecans but the nuts won over the chocolate. Hard to believe but oh yes, so true.


Caramel Gelato
makes a small batch, about 2-3 servings

1/2 cup sugar
water
1 cup + 2 tbsp whole milk, divided
1 1/2 tsp cornstarch
1 tbsp + 2 tsp milk powder
3/8 tsp gelatin powder

Place sugar and just enough water to moisten in a medium saucepan and cook over medium-high heat until the sugar has melted and caramelized to the shade you want. The darker it is, the less sweet but don't go too far! Reduce heat to medium and add 1 cup of whole milk. The caramel will solidify but that's okay, it will dissolve back in again.

Whisk together cornstarch, milk powder and gelatin in the remaining 2 tbsp of milk until a paste has formed. Dissolve the paste into the caramel mixture and bring it to a boil, cooking until the mixture has thickened. It won't be very thick at this stage but after it cools down, it will.

Remove from heat, strain and let it cool completely. Use an ice bath if you're impatient. Chill the mixture until cold, not just cool. Proceed the churn in your ice cream maker or do it by hand if you're ice cream maker-less like me.

Remember, there's no need to thaw before eating! Yay gelatin!

Linked to These Chicks Cooked, Sweet Treats Thursday, Full Plate Thursday, Sweet Tooth Friday, Fat Camp Friday, Sweets for a Saturday, Strut Your Stuff Saturday and Sweet Indulgences Sunday.