I've Moved!

Wednesday, March 16, 2011

graham crackers.


I think I may have offended roll-out cookies in my previous life.

I have just about a gazillion problems when making them.

The dough is too soft and sticky. I rolled them too thin. I rolled them too thick. They're not of equal sizes. They puff up too much. They expand into one another. They never bake up to the perfect crisp texture- I either underbake or overbake them. They look hideous...


Still, I had to give homemade graham crackers a go. I've never really eaten one before, I always use digestives as a substitute in recipes because they're not available in my neighboring stores. Besides, homemade is always best.

Graham Crackers
recipe from Smitten Kitchen
Makes 10 4 x 4.5-inch graham crackers or 48 2-inch squares


2 1/2 cups plus 2 tablespoons (375 grams) unbleached all-purpose flour (a swap of 1/2 cup with whole wheat flour or 1 cup whole wheat pastry flour works well here, too)
1 cup (176 grams) dark brown sugar, lightly packed
1 teaspoon (6 grams) baking soda
3/4 teaspoon kosher or coarse sea salt (4 grams)
7 tablespoons (3 1/2 ounces or 100 grams) unsalted butter, cut into 1-inch cubes and frozen
1/3 cup (114 grams) mild-flavored honey, such as clover
5 tablespoons (77 grams) milk, full-fat is best
2 tablespoons (27 grams) pure vanilla extract


Topping (optional)
3 tablespoons (43 grams) granulated sugar
1 teaspoon (5 grams) ground cinnamon


Make the dough: Combine the flour, brown sugar, baking soda, and salt in the bowl of a food processor fitted with the steel blade or in the bowl of an electric mixer fitted with the paddle attachment. Pulse or mix on low to incorporate. Add the butter and pulse on and off on and off, or mix on low, until the mixture is the consistency of a coarse meal.
[Alternately, if you don't have a food processor or electric mixer, you can cut the ingredients together with a pastry blender. Just make sure they're very well incorporated.]


In a small bowl, whisk together the honey, milk, and vanilla extract. Add to the flour mixture and pulse on and off a few times or mix on low until the dough barely comes together. It will be very soft and sticky. Lay out a large piece of plastic wrap and dust it lightly with flour, then turn the dough out onto it and pat it into a rectangle about 1-inch thick. Wrap it, then chill it until firm, about 2 hours or overnight. Meanwhile, prepare the topping, if using, by combining the sugar and cinnamon in a small bowl and setting aside.


Roll out the crackers: Divide the dough in half and return one half to the refrigerator. Sift an even layer of flour onto the work surface and roll the dough into a long rectangle about 1/8 inch thick. The dough will be sticky, so flour as necessary. Trim the edges of the rectangle to 4 inches wide. Working with the shorter side of the rectangle parallel to the work surface, cut the strip every 4 1/2 inches to make 4 crackers. 


Place the crackers on one or two parchment-lined baking sheets and sprinkle with the topping. Chill until firm, about 30 to 45 minutes in the fridge or 15 to 20 minutes in the freezer. Repeat with the second batch of dough. Finally, gather any scraps together into a ball, chill until firm, and re-roll.


Adjust the oven rack to the upper and lower positions and preheat the oven to 350°F.


Decorate the crackers: Mark a vertical line down the middle of each cracker, being careful not to cut through the dough (again, this is for the traditional cracker shape). Using a toothpick or skewer (I like to use the blunt end of a wooden skewer for more dramatic dots), prick the dough to form two dotted rows about 1/2 inch for each side of the dividing line.


Bake for 15 to 25 minutes, until browned and slightly firm to the touch, rotating the sheets halfway through to ensure even baking.


You know something's coming when you see graham crackers...

Tuesday, March 15, 2011

chocolate chip cookie dough truffles.


"Nobody eats cookie dough for breakfast!"


Well, technically, there are such people. Because I just did.

Do you feel this gravitational pull towards your screen? I'm sure you do. Don't lie. Lying is bad for your nose. And if you do, your nose will taste the truffles before your mouth does. See? What better way to teach little kids the lesson of honesty?

Searching for a chocolate chip cookie truffle recipe isn't hard. They're everywhere! But majority of them uses sweetened condensed milk and I didn't want to because that won't be a true cookie dough. So I finally found one from Baked Perfection and tweaked just one thing. Instead of brown and white sugar, I used all brown sugar. And I think upping the salt just slightly would bring out the flavours better. I bet browning the butter would kick ass. Try it and make me drool!

Chocolate Chip Cookie Dough Pops
adapted from Baked Perfection

makes 20

1 cup all purpose flour
1/4 tsp salt + maybe a bit more
dash of cinnamon
1 stick butter, softened (it is even okay if it is melting a little) *why not try browned butter?
3/4 cup brown sugar (was initially 1/4 cup white and 1/2 brown)
1/2 tsp vanilla extract
3/4 cups mini semi-sweet chocolate chips


Extra chocolate for dipping, melted


In a medium bowl combine the flour, salt, and dash of cinnamon. In a second larger bowl, beat together the butter, sugar, brown sugar, and vanilla extract until creamy. Slowly beat in the flour mixture until smooth. Stir in the chocolate chips. Roll the mixture into quarter size balls and lay on cookie sheet lined with wax paper. Chill for several hours or freeze for 15-20 minutes until firm. Dip liberally into melted chocolate.

Pardon the horrendous dipping. I'm not the world's best dipper. Sure, they're ugly truffles. 


But they're my ugly truffles.

Monday, March 14, 2011

sticky sticky buns.


Beware. This is evil in disguise.

It makes your self-restraint disappear, your saliva flow like Niagara Falls, and your pants tight. Behold, the Sticky Sticky Bun.


Finally, I've attempted the famous sticky bun recipe by Joanne Chang which trashed Bobby Flay's in a throwdown! It shouldn't have took me so long but the amount of butter in the entire recipe totally put me off. Brioche + goo, there was close to 1 3/4 cup in the entire batch! I think my butt just grew.

Anyway, I didn't part with that much butter. I did just a third of the recipe to make 3 buns and adjusted the amount of goo since I read that it made too much. 2 cups for 8 buns? I think we may have a mini volcano eruption going on. I quartered the amount to get a 1/2 cup to share among the 3 buns and I still had way too much. But it was because when the dough doubled in size it unceremoniously pushed the goo out of the pan, so I suggest you hold on to the extra goo and drizzle the remaining on after baking.

Note: I made mine in individual pans which resulted in the overflowing goo. If you made yours in a 9 x 13 I doubt you'll have any issues. I love the shape of the buns I get from the pans! So cute and chubby.


Besides the change in quantities, I also tweaked the recipe by adding dates and more cinnamon to the filling. I feel that Joanne is always very shy with the cinnamon in her recipes. The dates worked so perfectly with the gooey center! I'm such a genius! They contributed more moisture to the rolls and when forked up with some buttery brioche and goo, it's like an orchestra is playing in your mouth. I'm serious. I wanted some more after I finished, and do you know how huge one bun is? Bakeries always make stuff off ginormous proportions. But that's why I love them.

Do remember that you should use half the recipe of Basic Brioche Dough, not the full quantity. And forget about letting the buns cools. Just dig in!

Sunday, March 6, 2011

pecan pie.


I love pecan pie but this is only my first time making it. It all started when I walked past this bakery selling wedges of pecan pie, each slice generously stuffed and studded with those gorgeous nuts, and each slice was quite reasonably priced too. I can't remember how many times I've succumbed to its temptation already, but I've never thought of making my own, even though there were a few flaws I could pick at. The crust was soggy, the pecans tasted a little stale...


So anyway, I finally got down to baking my own pecan pie after having found this recipe from cookiemadness, which is one of her favourite pecan pie recipes. I used dark brown sugar, but on hindsight, I should have used light brown. It's just my personal preference because dark brown has too much molasses flavour.


Another thing I did was to bake it mini. I did a third of a recipe for a 9 inch pie crust, and 1/4 the recipe for the filling. I par-baked the crust first to ensure that it didn't get soggy. After pouring in the filling, the pies looked done after just 15 minutes. They were kind of set and slightly jiggly in the middle. When I finally couldn't resist anymore, but I did let them cool completely, I forked through the pie and brown sugar lava flowed out.

This was what ran through my mind at that time:

Ooh, molten pecan pie!


Molten pecan pie?!


So apparently, my pie was still under baked. I stuck my pies back in the oven for another 15 minutes, hoping that would be enough and thank goodness it was. I realized only much later that the pies were only done when the filling sort of puffs up, something that I didn't notice during the first round of baking. So anyway, tragedy solved.


I used my favourite pie crust recipe from smitten kitchen that is practically unshrinkable, unless you want to count the few millimeters. I used this crust recipe for my fruit tarts as well.

A Great Savory Tart Shell

1 1/4 cups flour
1 tablespoon plus 2 teaspoons cornstarch
1/4 teaspoon salt
6 tablespoons butter, diced
1 egg

In a large bowl, combine the flour, cornstarch and one-fourth teaspoon salt. Cut the butter in with a pastry blender, fork or two knives until it is in very tiny bits. Add one egg and mix with a fork until a dough forms. If this does not happen easily, toss it out onto a counter and knead it together. This dough is rather tough but with a little elbow grease, it does come together nicely. (Dough can also be made in a food processor, or as the original recipe suggests, in a stand mixer, though I have not tested in in the latter.)

On a lightly floured surface, roll the dough out to a 12-inch circle. Place the dough in a 9-inch pie plate or tart pan and press to remove any air bubbles. Crimp the edges, and refrigerate for 30 minutes. Proceed with a filling of your choice, no parbaking required.


This recipe would yield 6 mini pies.


The Best Pecan Pie Yet
1 9 inch deep dish unbaked pie shell *I par-baked the crust first even though the crust didn't require it
1 1/2 cups pecan halves
4 tablespoons room temperature unsalted butter, cut up
3 large eggs
1 cup light corn syrup or Karo “brown sugar” corn syrup (both work equally well)
3/4 cup packed dark or light brown sugar *I would prefer light brown sugar
2 tablespoons whipping cream
1 1/2 teaspoons vanilla extract
1/8 teaspoon salt
Preheat oven to 350 F. Place pecans in a large skillet or saute pan and turn heat to medium high. Cook pecans for 2 minutes, stirring often. Reduce heat to medium, add butter to skillet with pecans, and “stir-fry” butter and pecans until butter melts and and just barely starts to browns – take care not to burn. This should only take about 3 minutes. Remove from heat and set aside.
In medium bowl, whisk together eggs, corn syrup, brown sugar, cream, vanilla and salt. Remember just to whisk — don’t beat or add too much air to the mixture. Stir in melted butter/pecan mixture then pour filling into unbaked crust.
To catch any drippings, set a rimmed cookie sheet on the lower rack of the oven. Set the pie on the middle rack and bake for 45-50 minutes or until top is golden brown and appears set. The pie should still be slightly jiggly in center. Let cool completely at room temperature. Transfer to refrigerator to chill. I make it a day ahead, chill overnight, then bring to room temperature and slice.
This pie also freezes quite well. (This recipe would yield enough filling for 8 mini pies)


Tuesday, March 1, 2011

alton brown's the chewy.

I've never been much of a chewy gal. More like a crispy. But when more than 800 people gave The Chewy the thumbs up on foodnetwork.com, I just had to try it.

I made some modifications to the recipe based on the commenters, well, comments. I reduced the amount of butter from 1 cup to 3/4 cup because it was supposedly a tad oily. I also browned the melted butter since it was already melted. Because hey, how bad can browned butter get?

Because I reduced the amount of butter quite significantly, I didn't have the same problem with the dough being too soft and gloopy. I got quite the opposite in fact. I could actually shape the dough without ending up with chocolate chip cookie hand cream. So I got out more milk and adjusted the consistency.
first batch
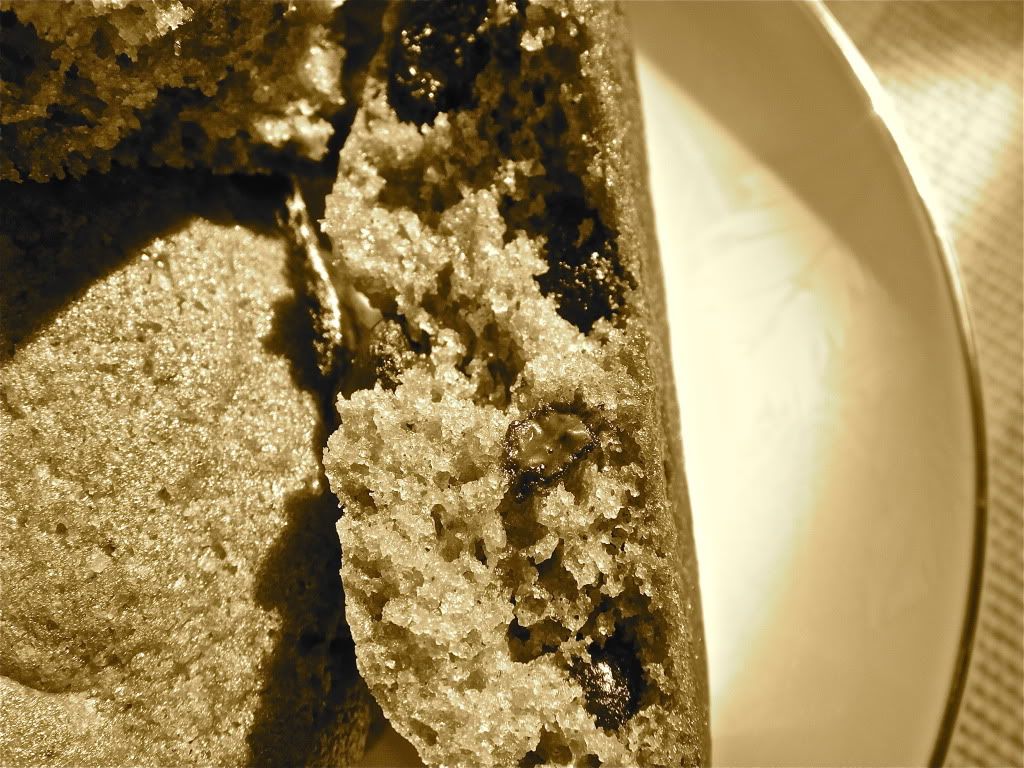
The first batch I made came out somewhat with a crumb that looked cakey. I might have overbaked it because it didn't appear golden brown to me yet. So for the second batch, I froze the dough and baked it straight from the freezer at an even higher temperature, 200C instead of 190C. This time, the edges of the cookies got a nice brown but still super moist and gooey inside.

I have to say, I'm kind of disappointed. Even the edges that got brown weren't as crunchy as I would like. The second batch had a gooey interior but I didn't find it that chewy. In fact, I think the first batch was chewier. Strange, huh. On the plus side, the cookies had a really good caramelized flavour from all that brown sugar. I knew sacrificing the ratio of white sugar to brown sugar really affects the crunch, but I didn't think it would be that drastic.

I'm starting to warm up to the idea of crunchy-edged, chewy-interior cookies because I admit, there aren't many great crisp all the way through cookies out there. I really like how thick some of the chewy cookies can get too!

Anyway, sorry Alton, your cookie recipe gets a thumbs down from me. Can anyone recommend their favourite chocolate chip cookie recipe with crunchy edges and with tons of chew?

Alton Brown's The Chewy

Ingredients:
2 sticks unsalted butter *I used 1 1/2 sticks
2 1/4 cups bread flour
1 teaspoon kosher salt
1 teaspoon baking soda
1/4 cup sugar
1 1/4 cups brown sugar
1 egg
1 egg yolk
2 tablespoons milk *I had to use more
1 1/2 teaspoons vanilla extract
2 cups semisweet chocolate chips

Directions:

1. Melt the butter in a heavy-bottom medium saucepan over low heat. Sift together the flour, salt, and baking soda and set aside.
2. Pour the melted butter in the mixer's work bowl. Add the sugar and brown sugar. Cream the butter and sugars on medium speed. Add the egg, yolk, 2 tablespoons milk and vanilla extract and mix until well combined. Slowly incorporate the flour mixture until thoroughly combined. Stir in the chocolate chips.
3. Chill the dough (about 2 hours), then scoop onto parchment-lined baking sheets, using an ice cream scoop, 6 cookies per sheet. Cookies should be quite large if you are using a regular ice cream scooper. Preheat oven to 375 F. Bake for 14 minutes or until golden brown, checking the cookies after 5 minutes. Rotate the baking sheet for even browning. Cool completely and store in an airtight container.